Goal
The initial goal for this project was conceived back in 2016 while I was in college as a self-chosen final project for my mechatronics class. The idea was to create a 3D printed engine that used LEDs to represent spark plugs and fuel injectors. This would give others an understanding and an appreciation of how combustion engines worked. Several years after this project was finished, I went back with more funds and better tools to try and recreate the project. This page focuses on the recent revision.
Execution
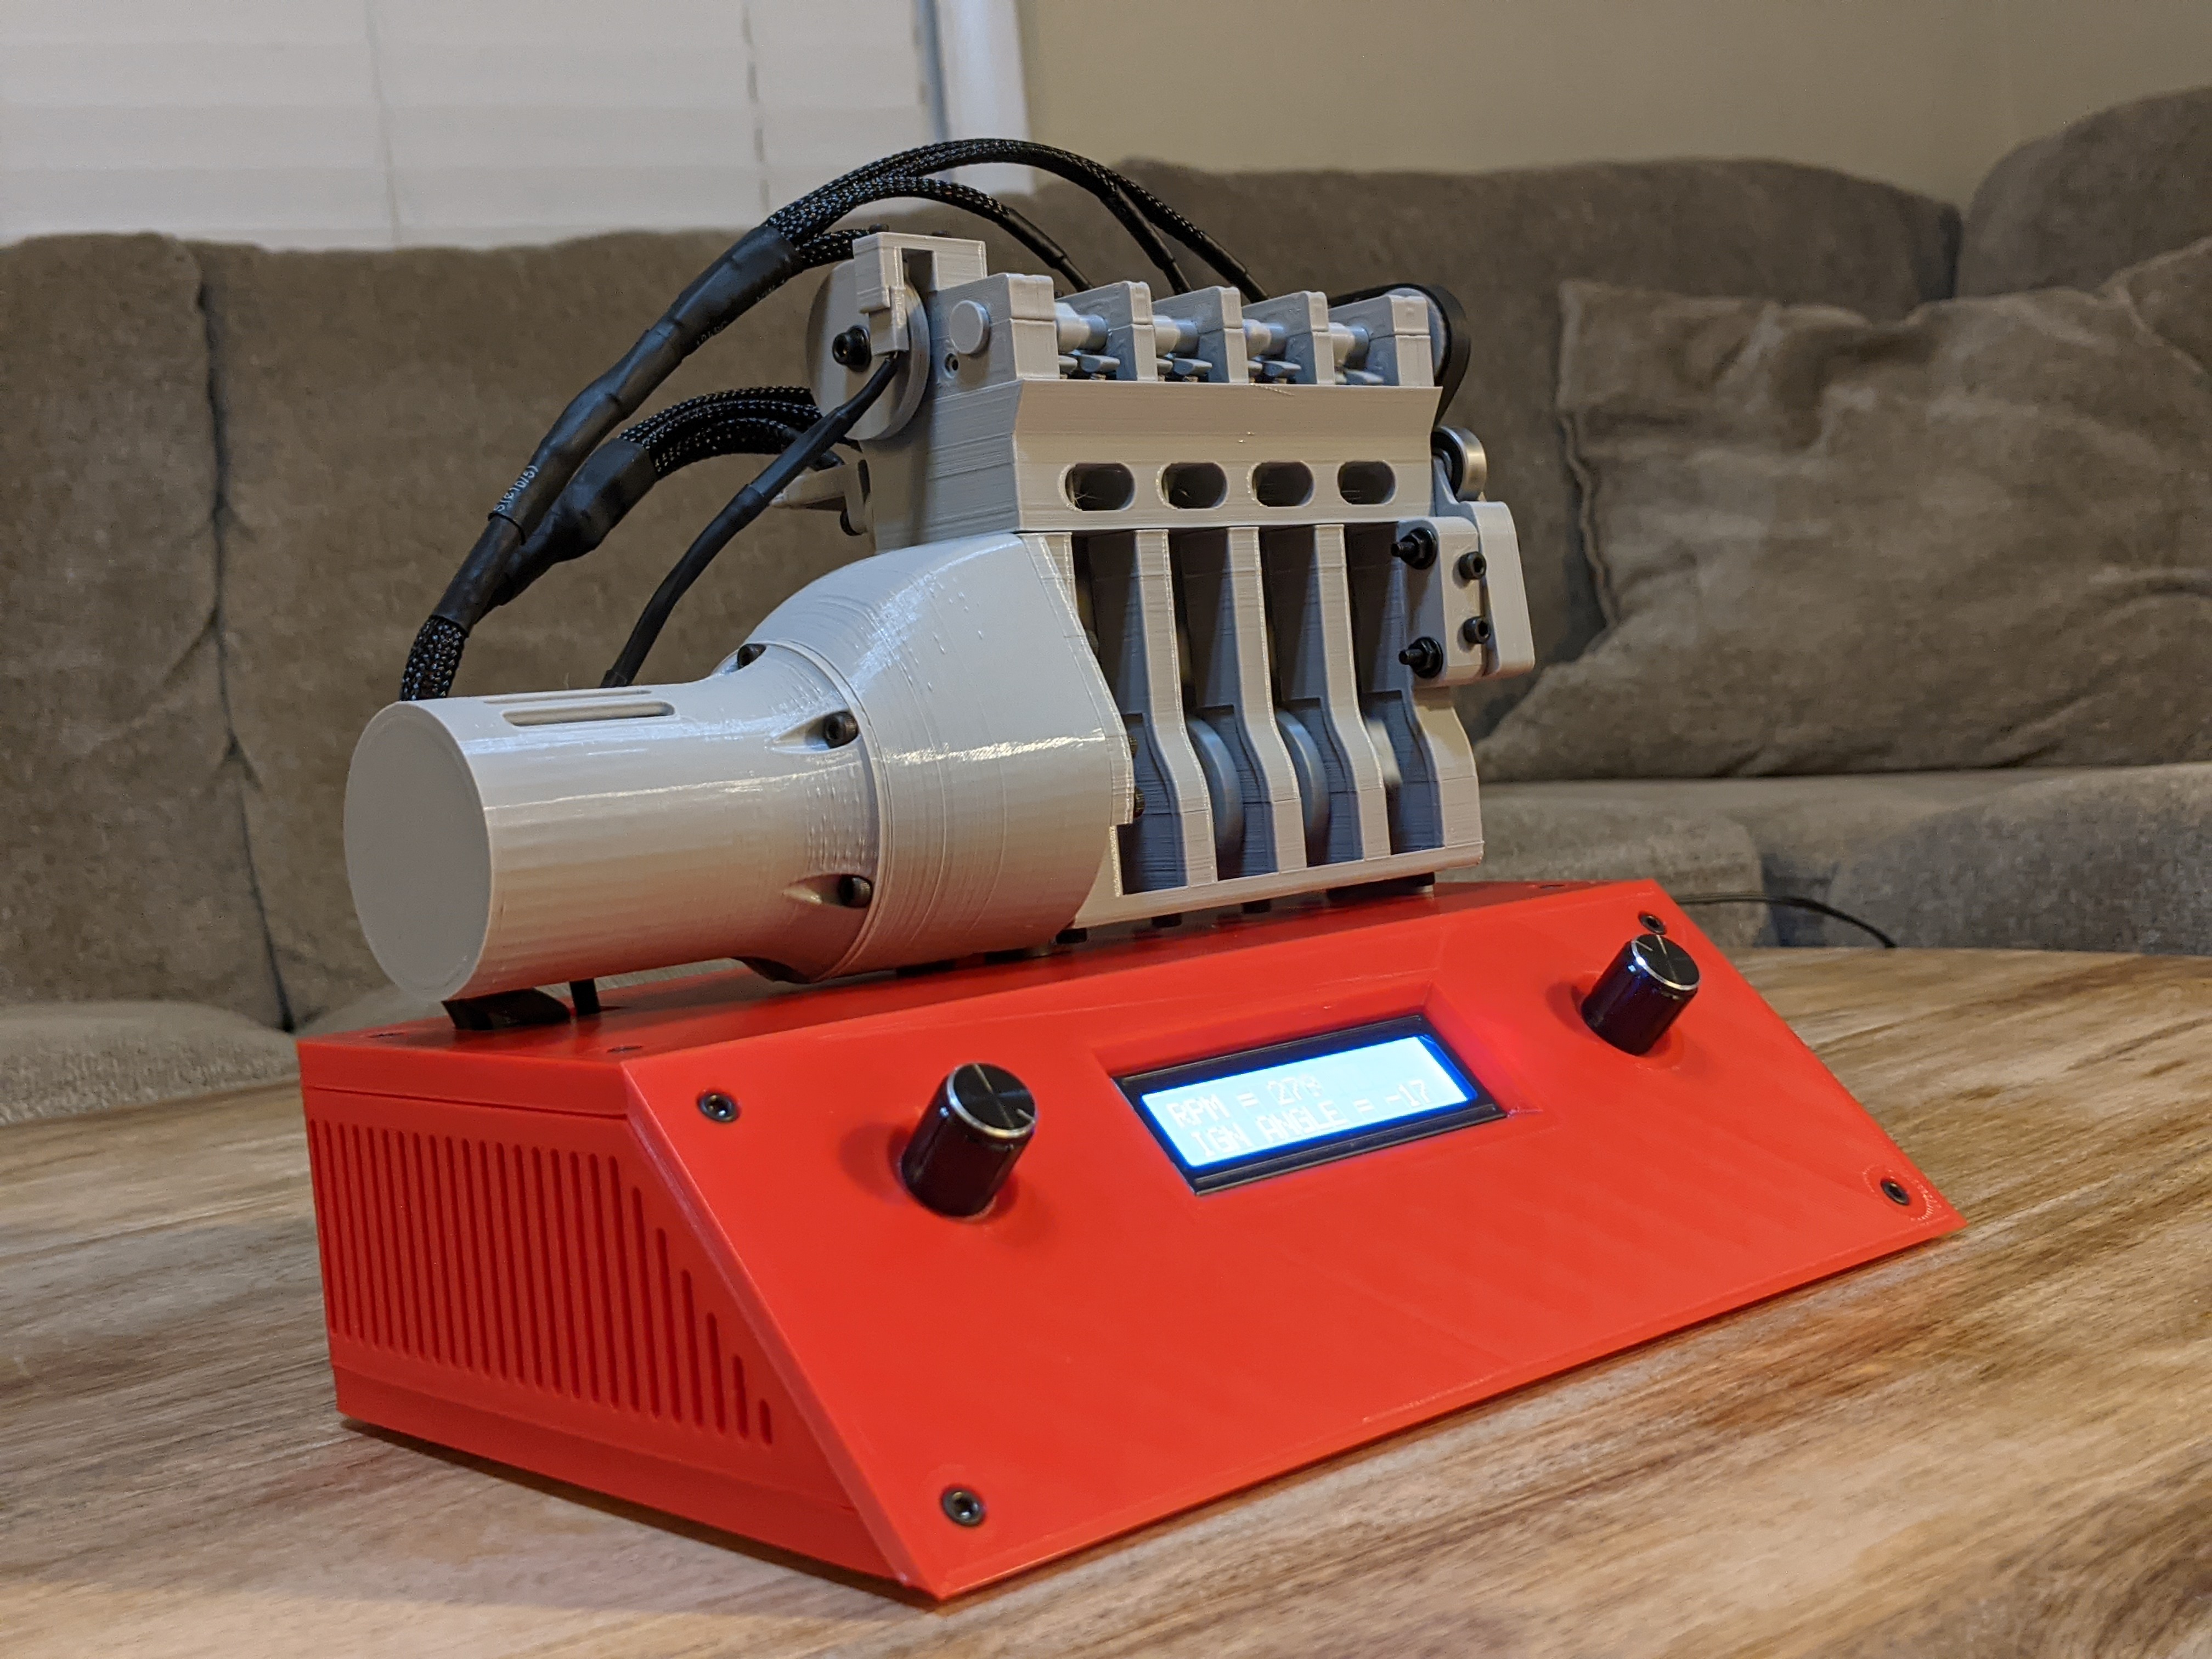
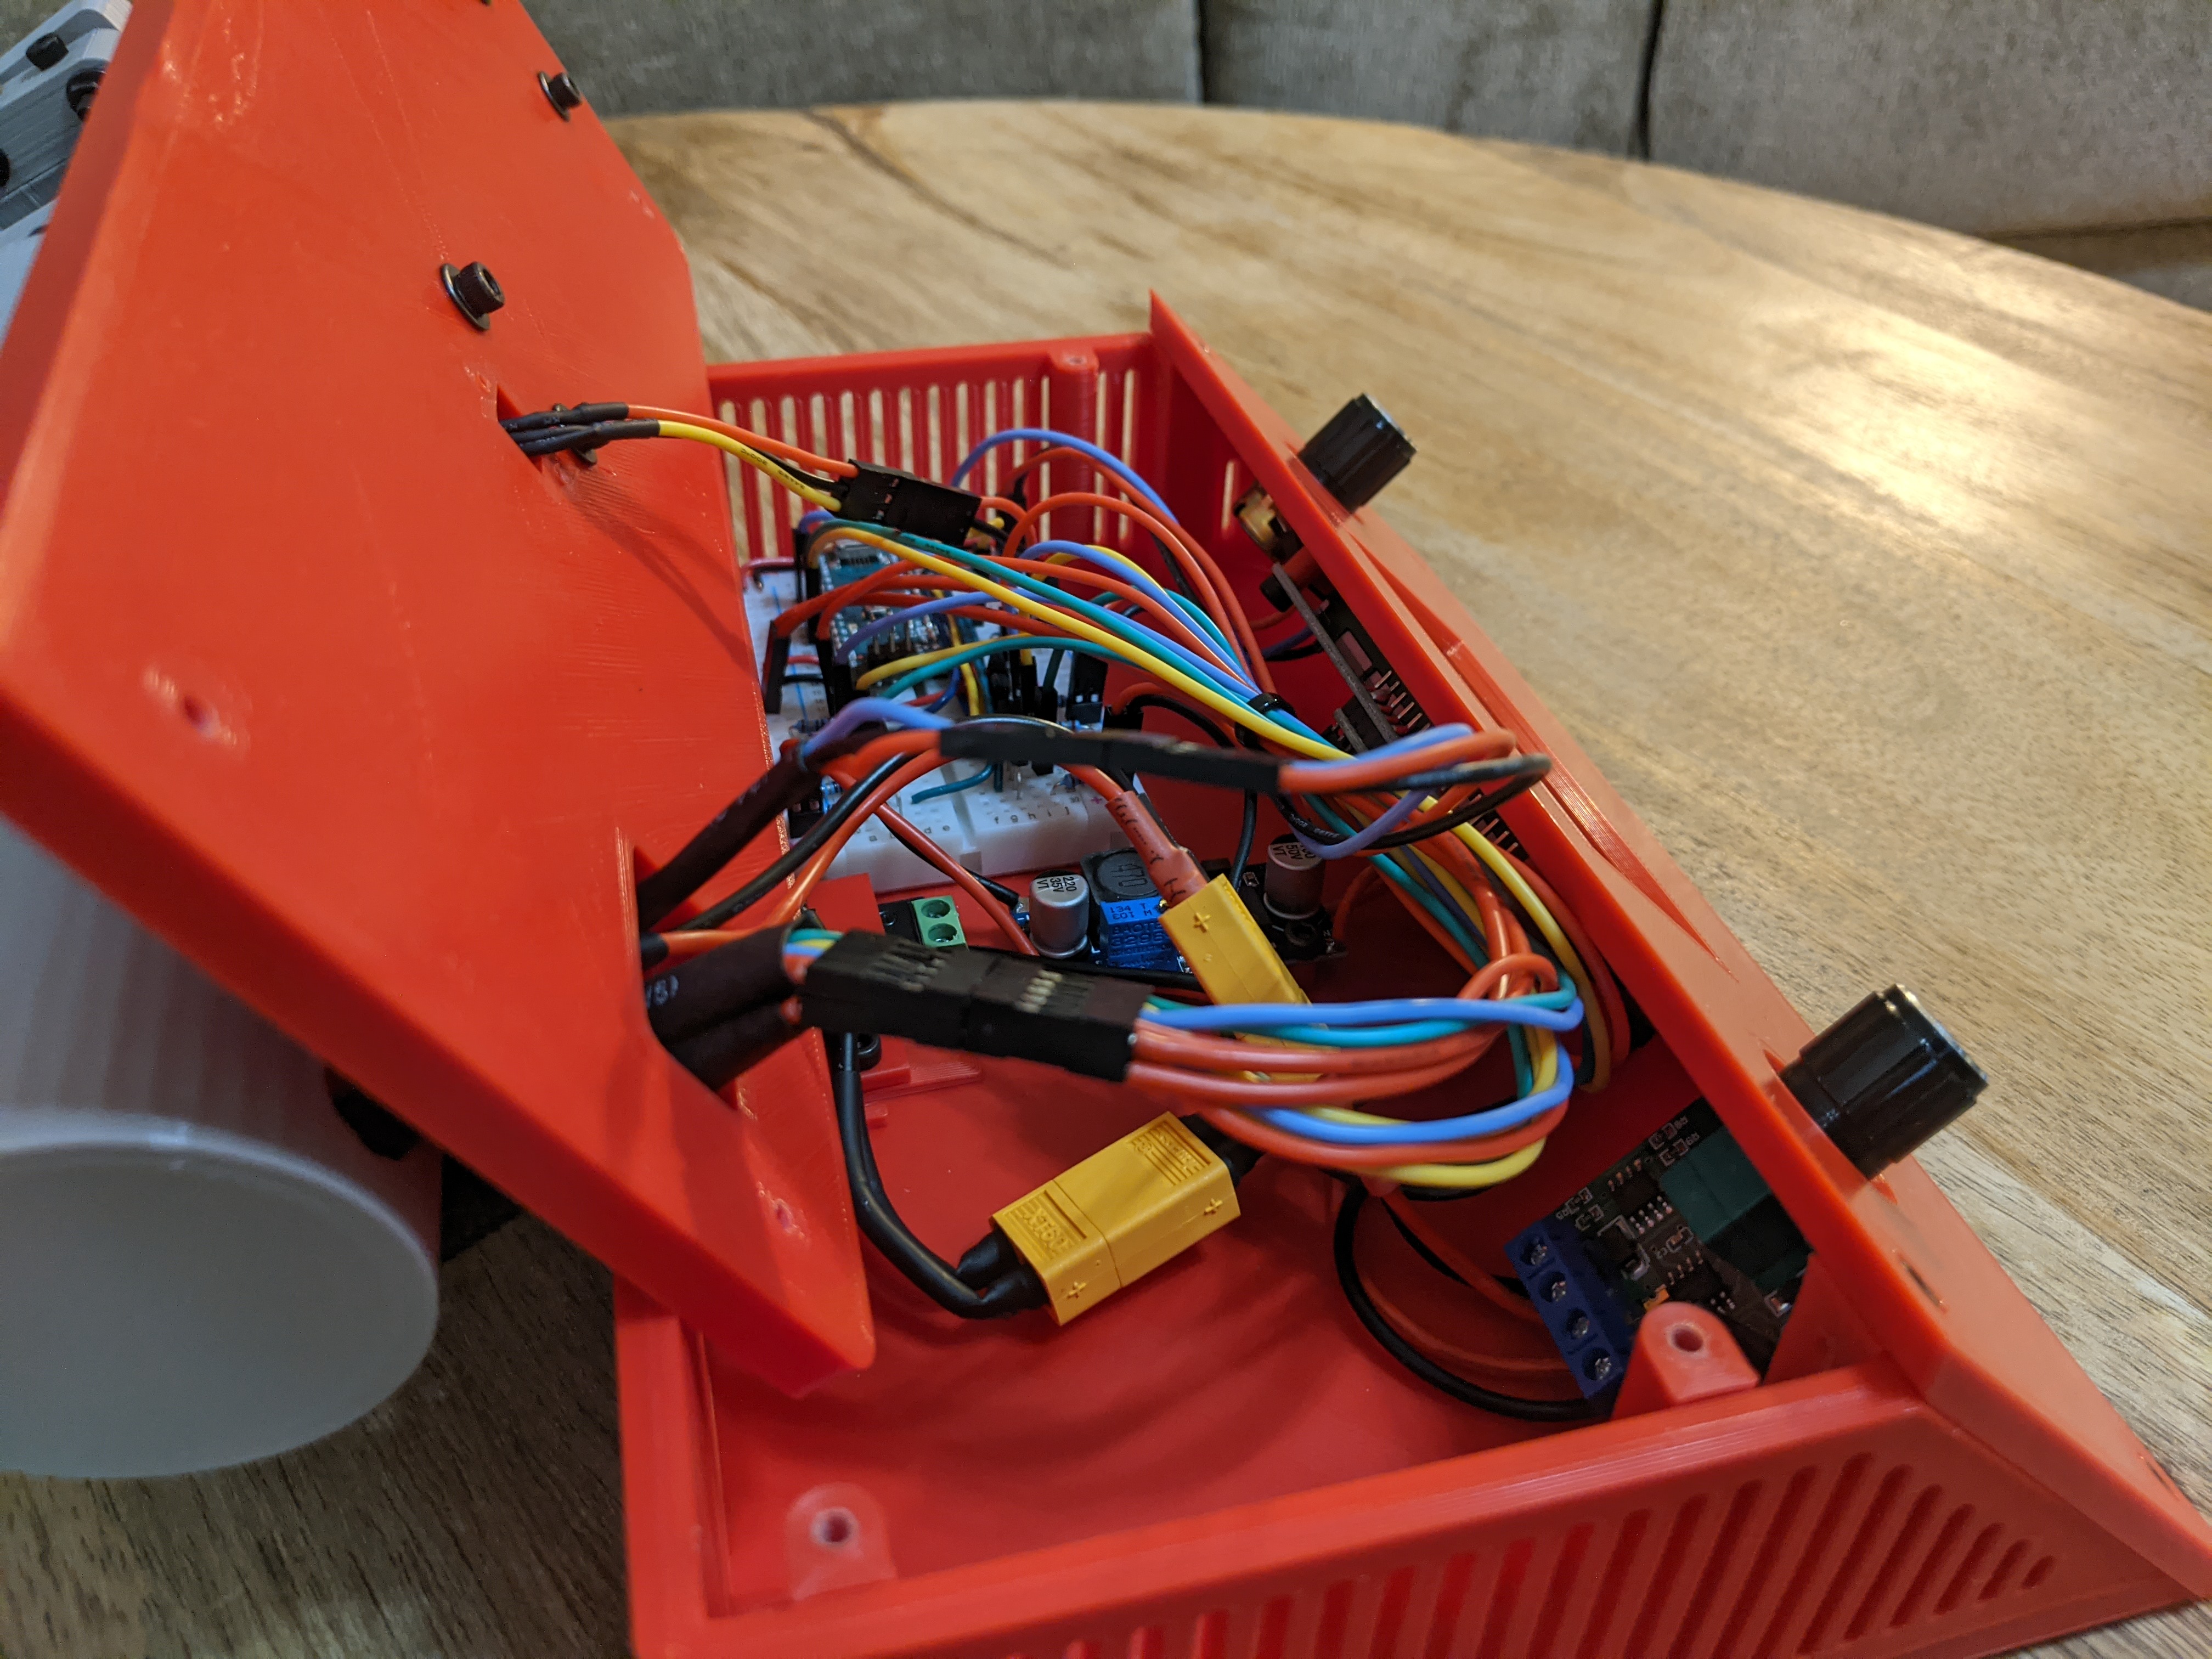
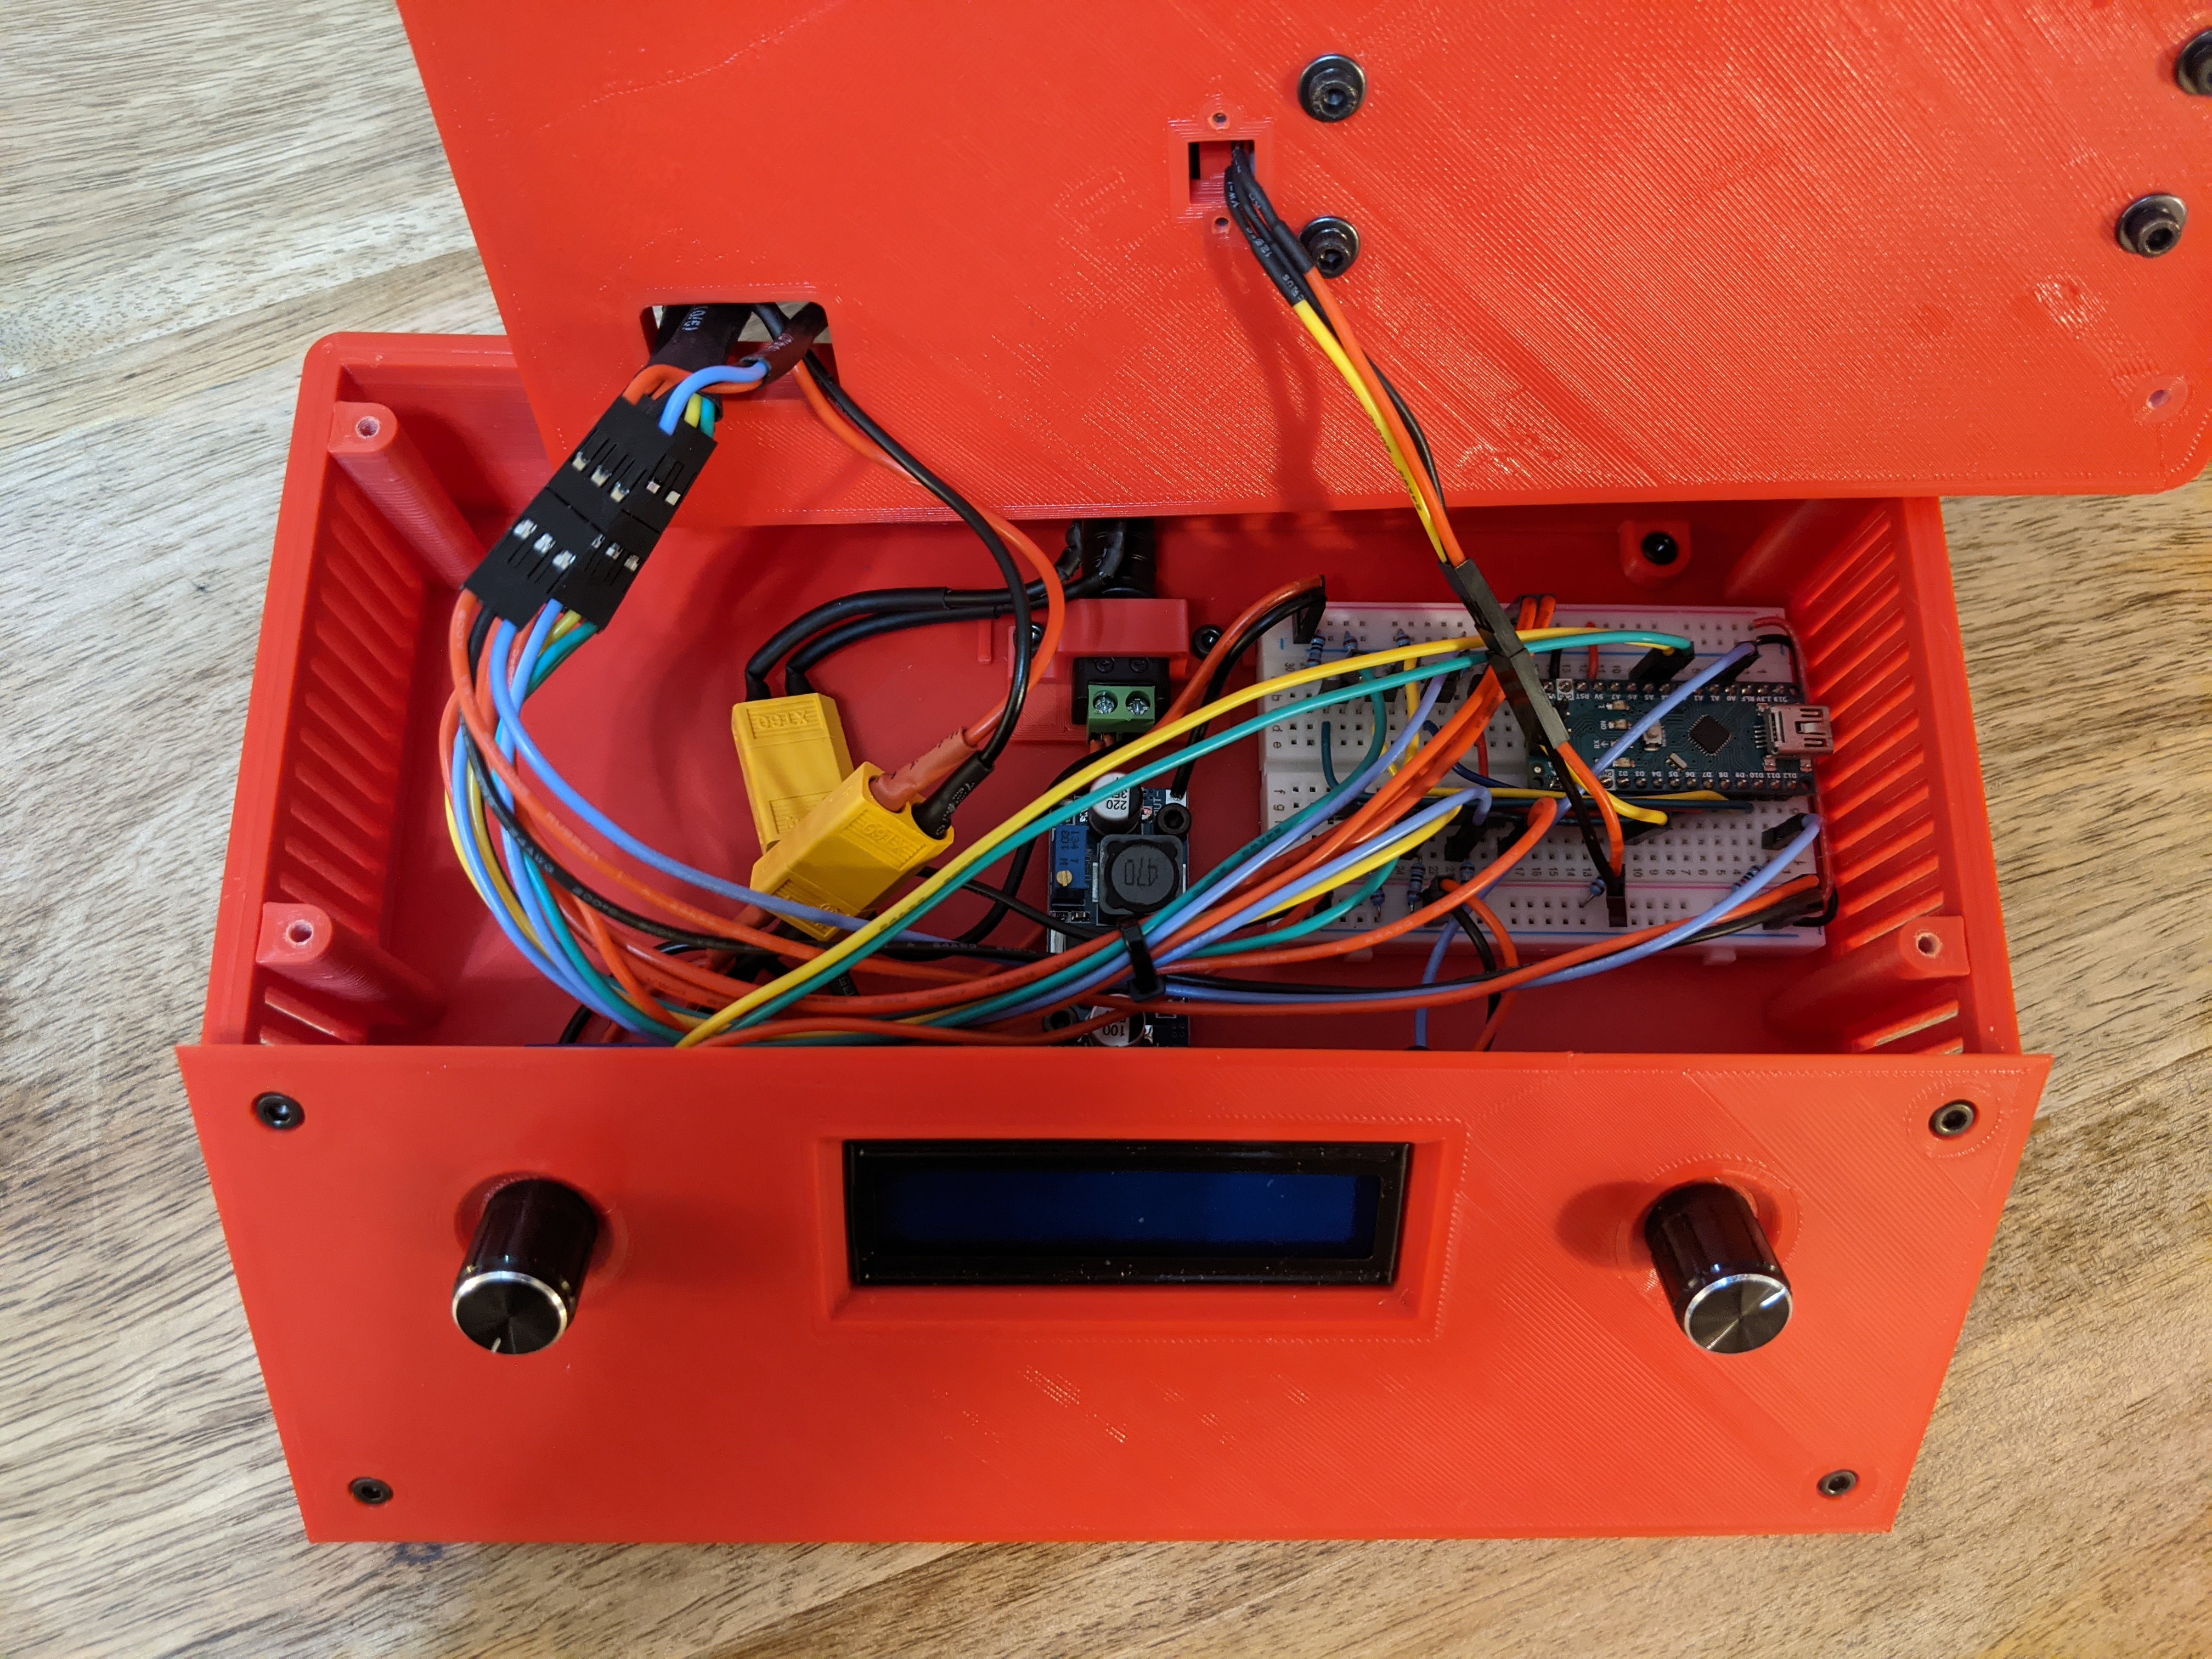
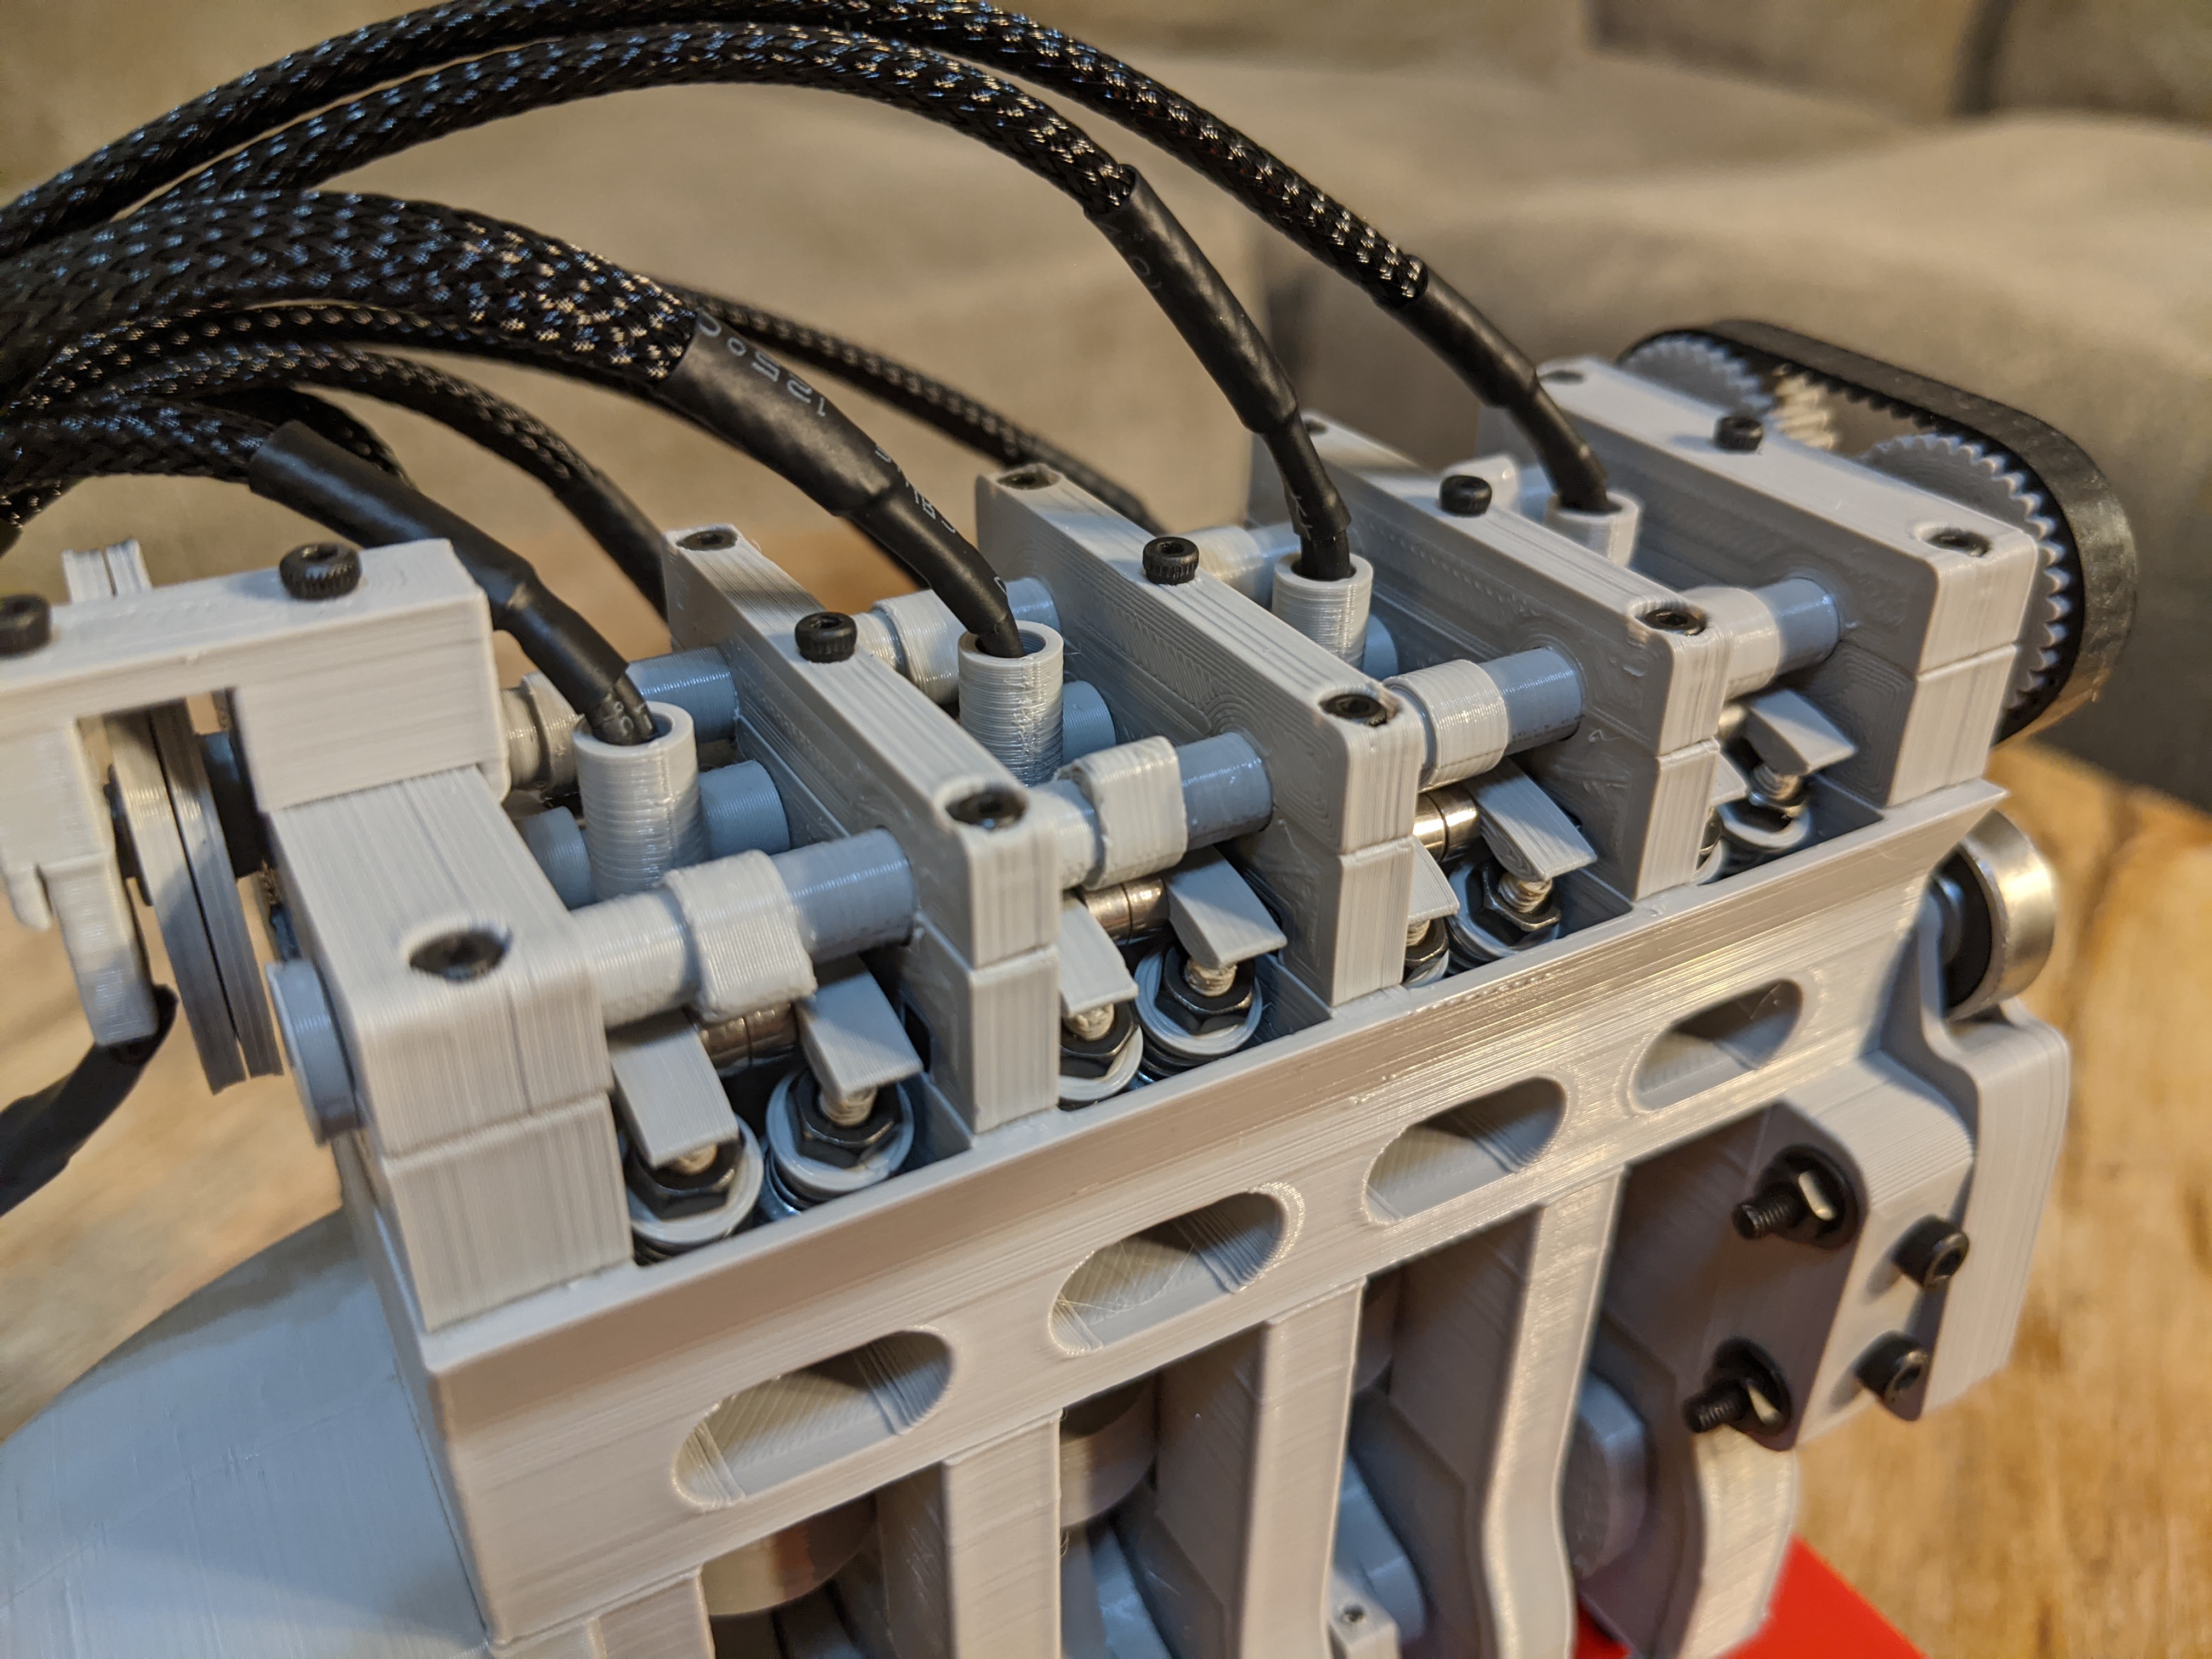
The process started by designing a solid model of the engine assembly in Solidworks. An approximate model size was determined and dimensions were chosen as the project was developed. Parts were 3D printed and tested during the design process to ensure that the actual parts were consistent with the model. Once the parts were printed and assembled, the wiring was created and Arduino code was written and tested.
Final Product
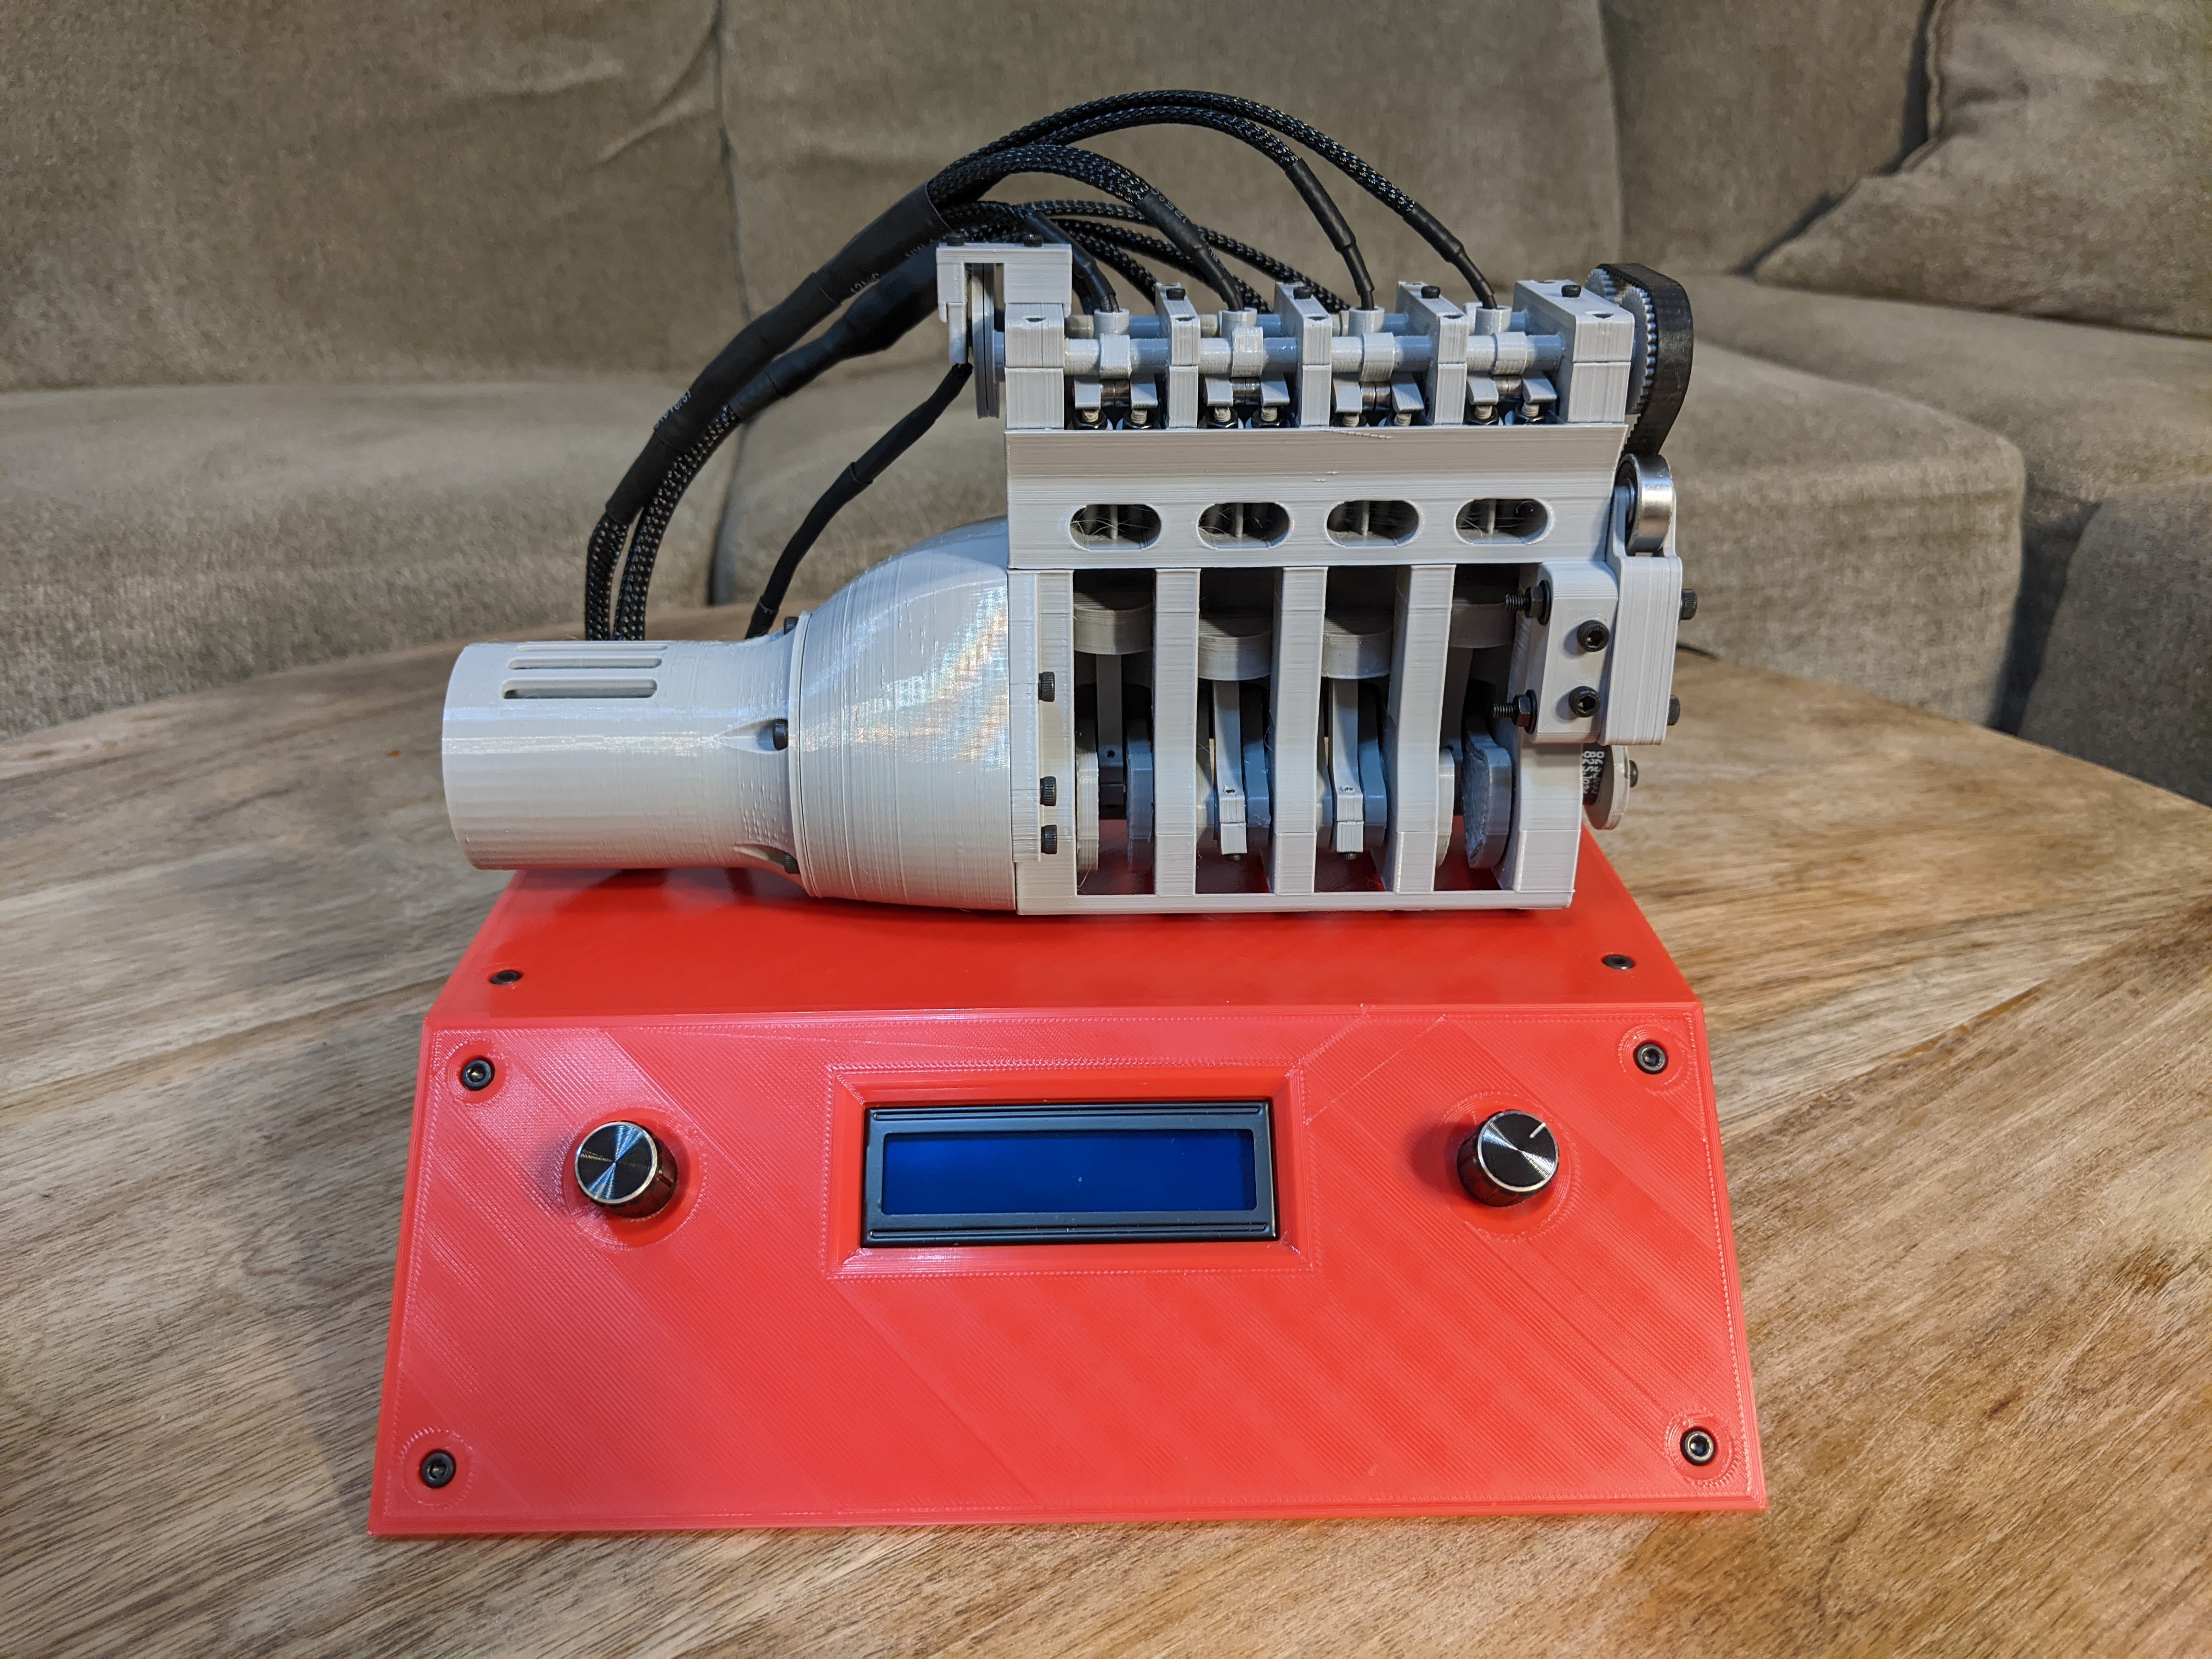
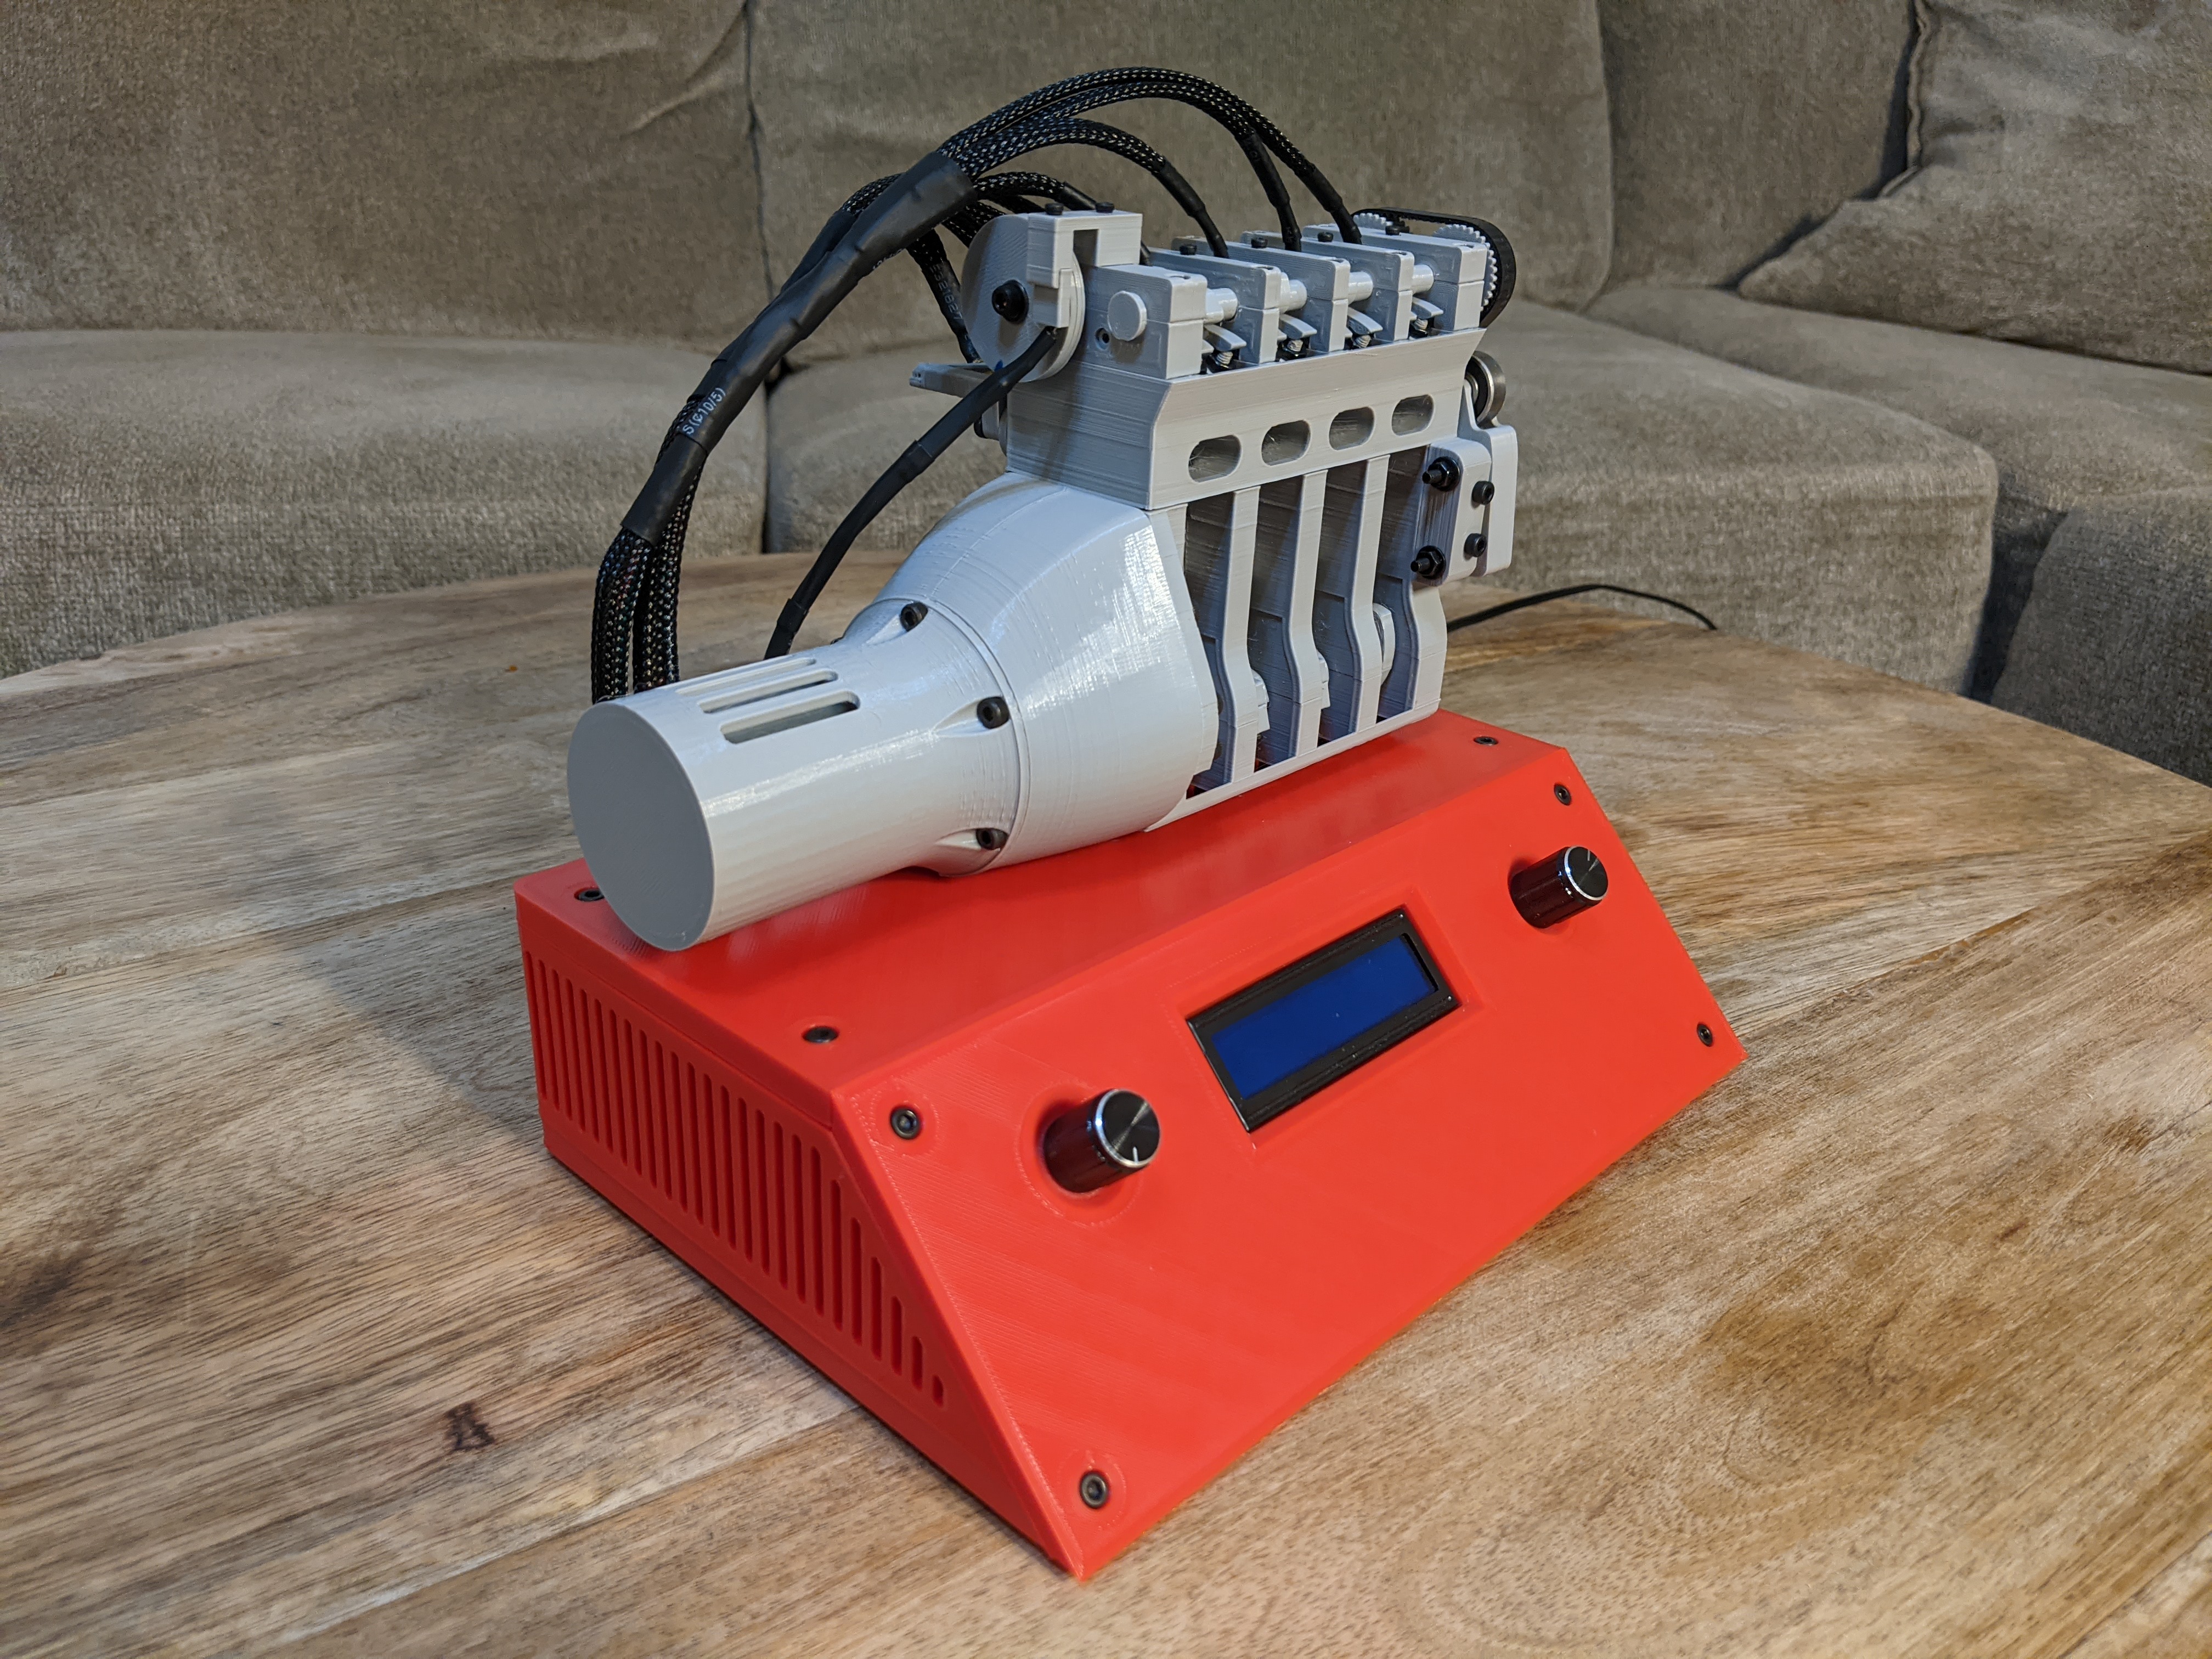
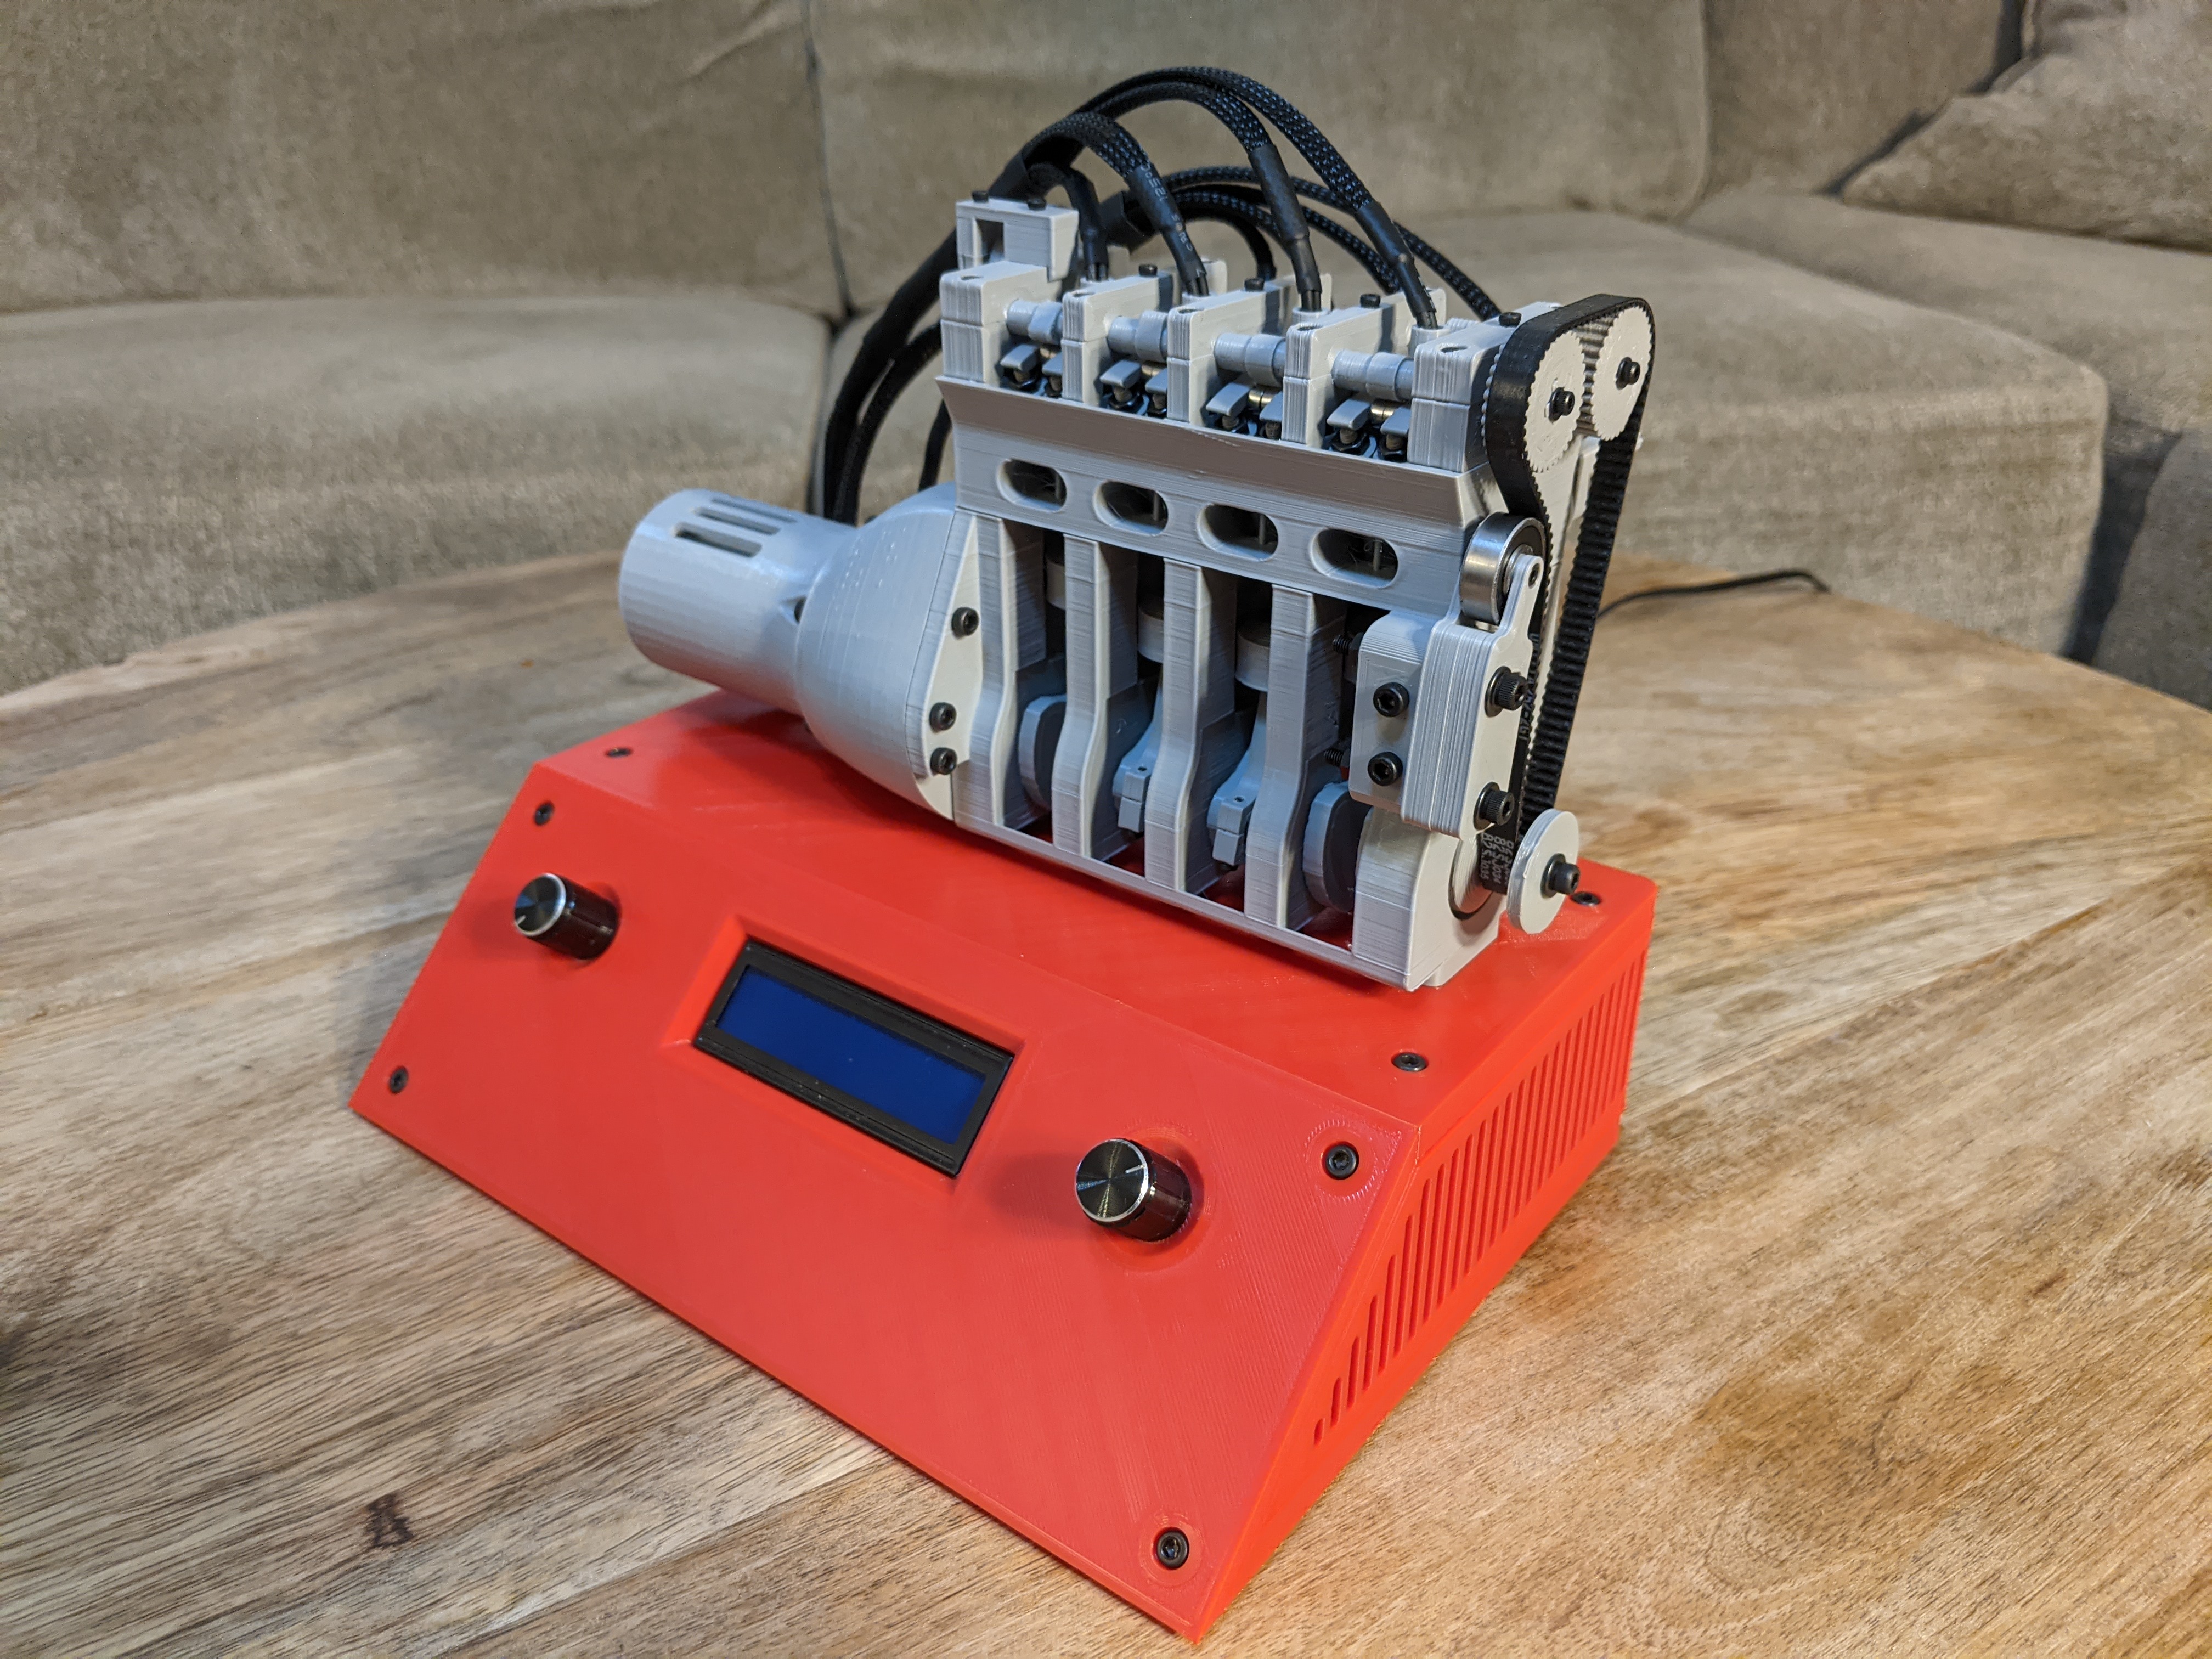
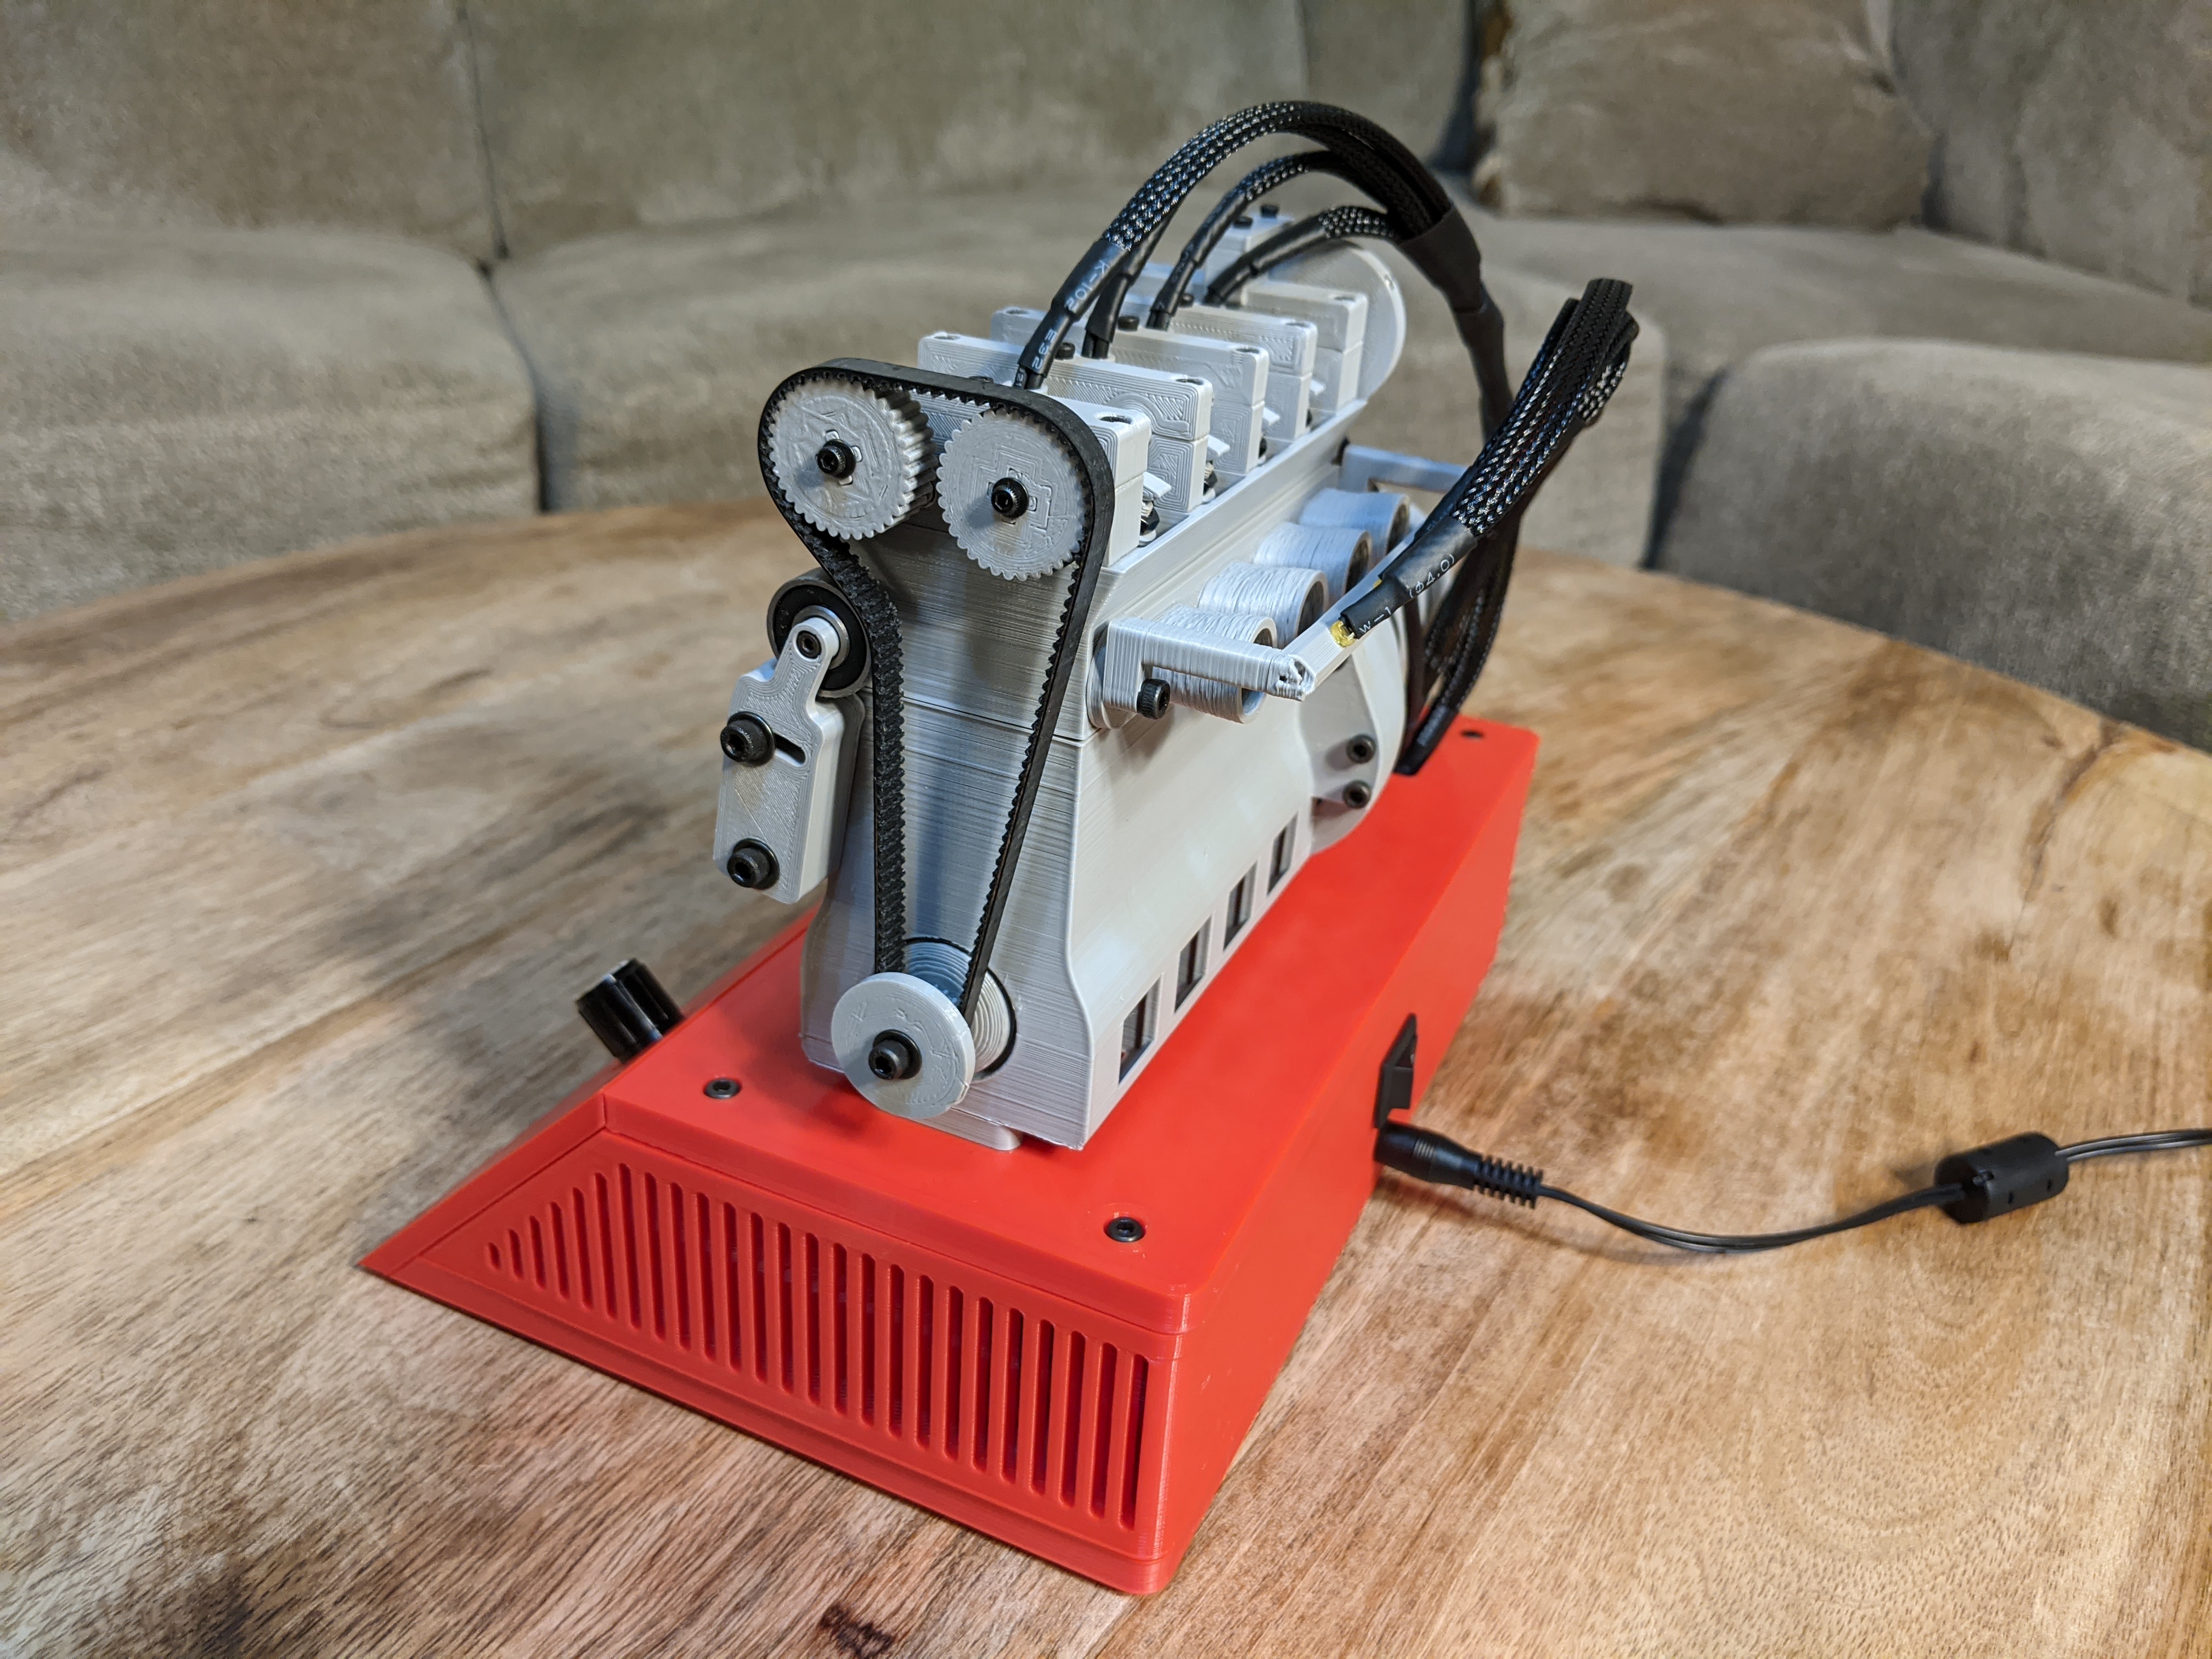
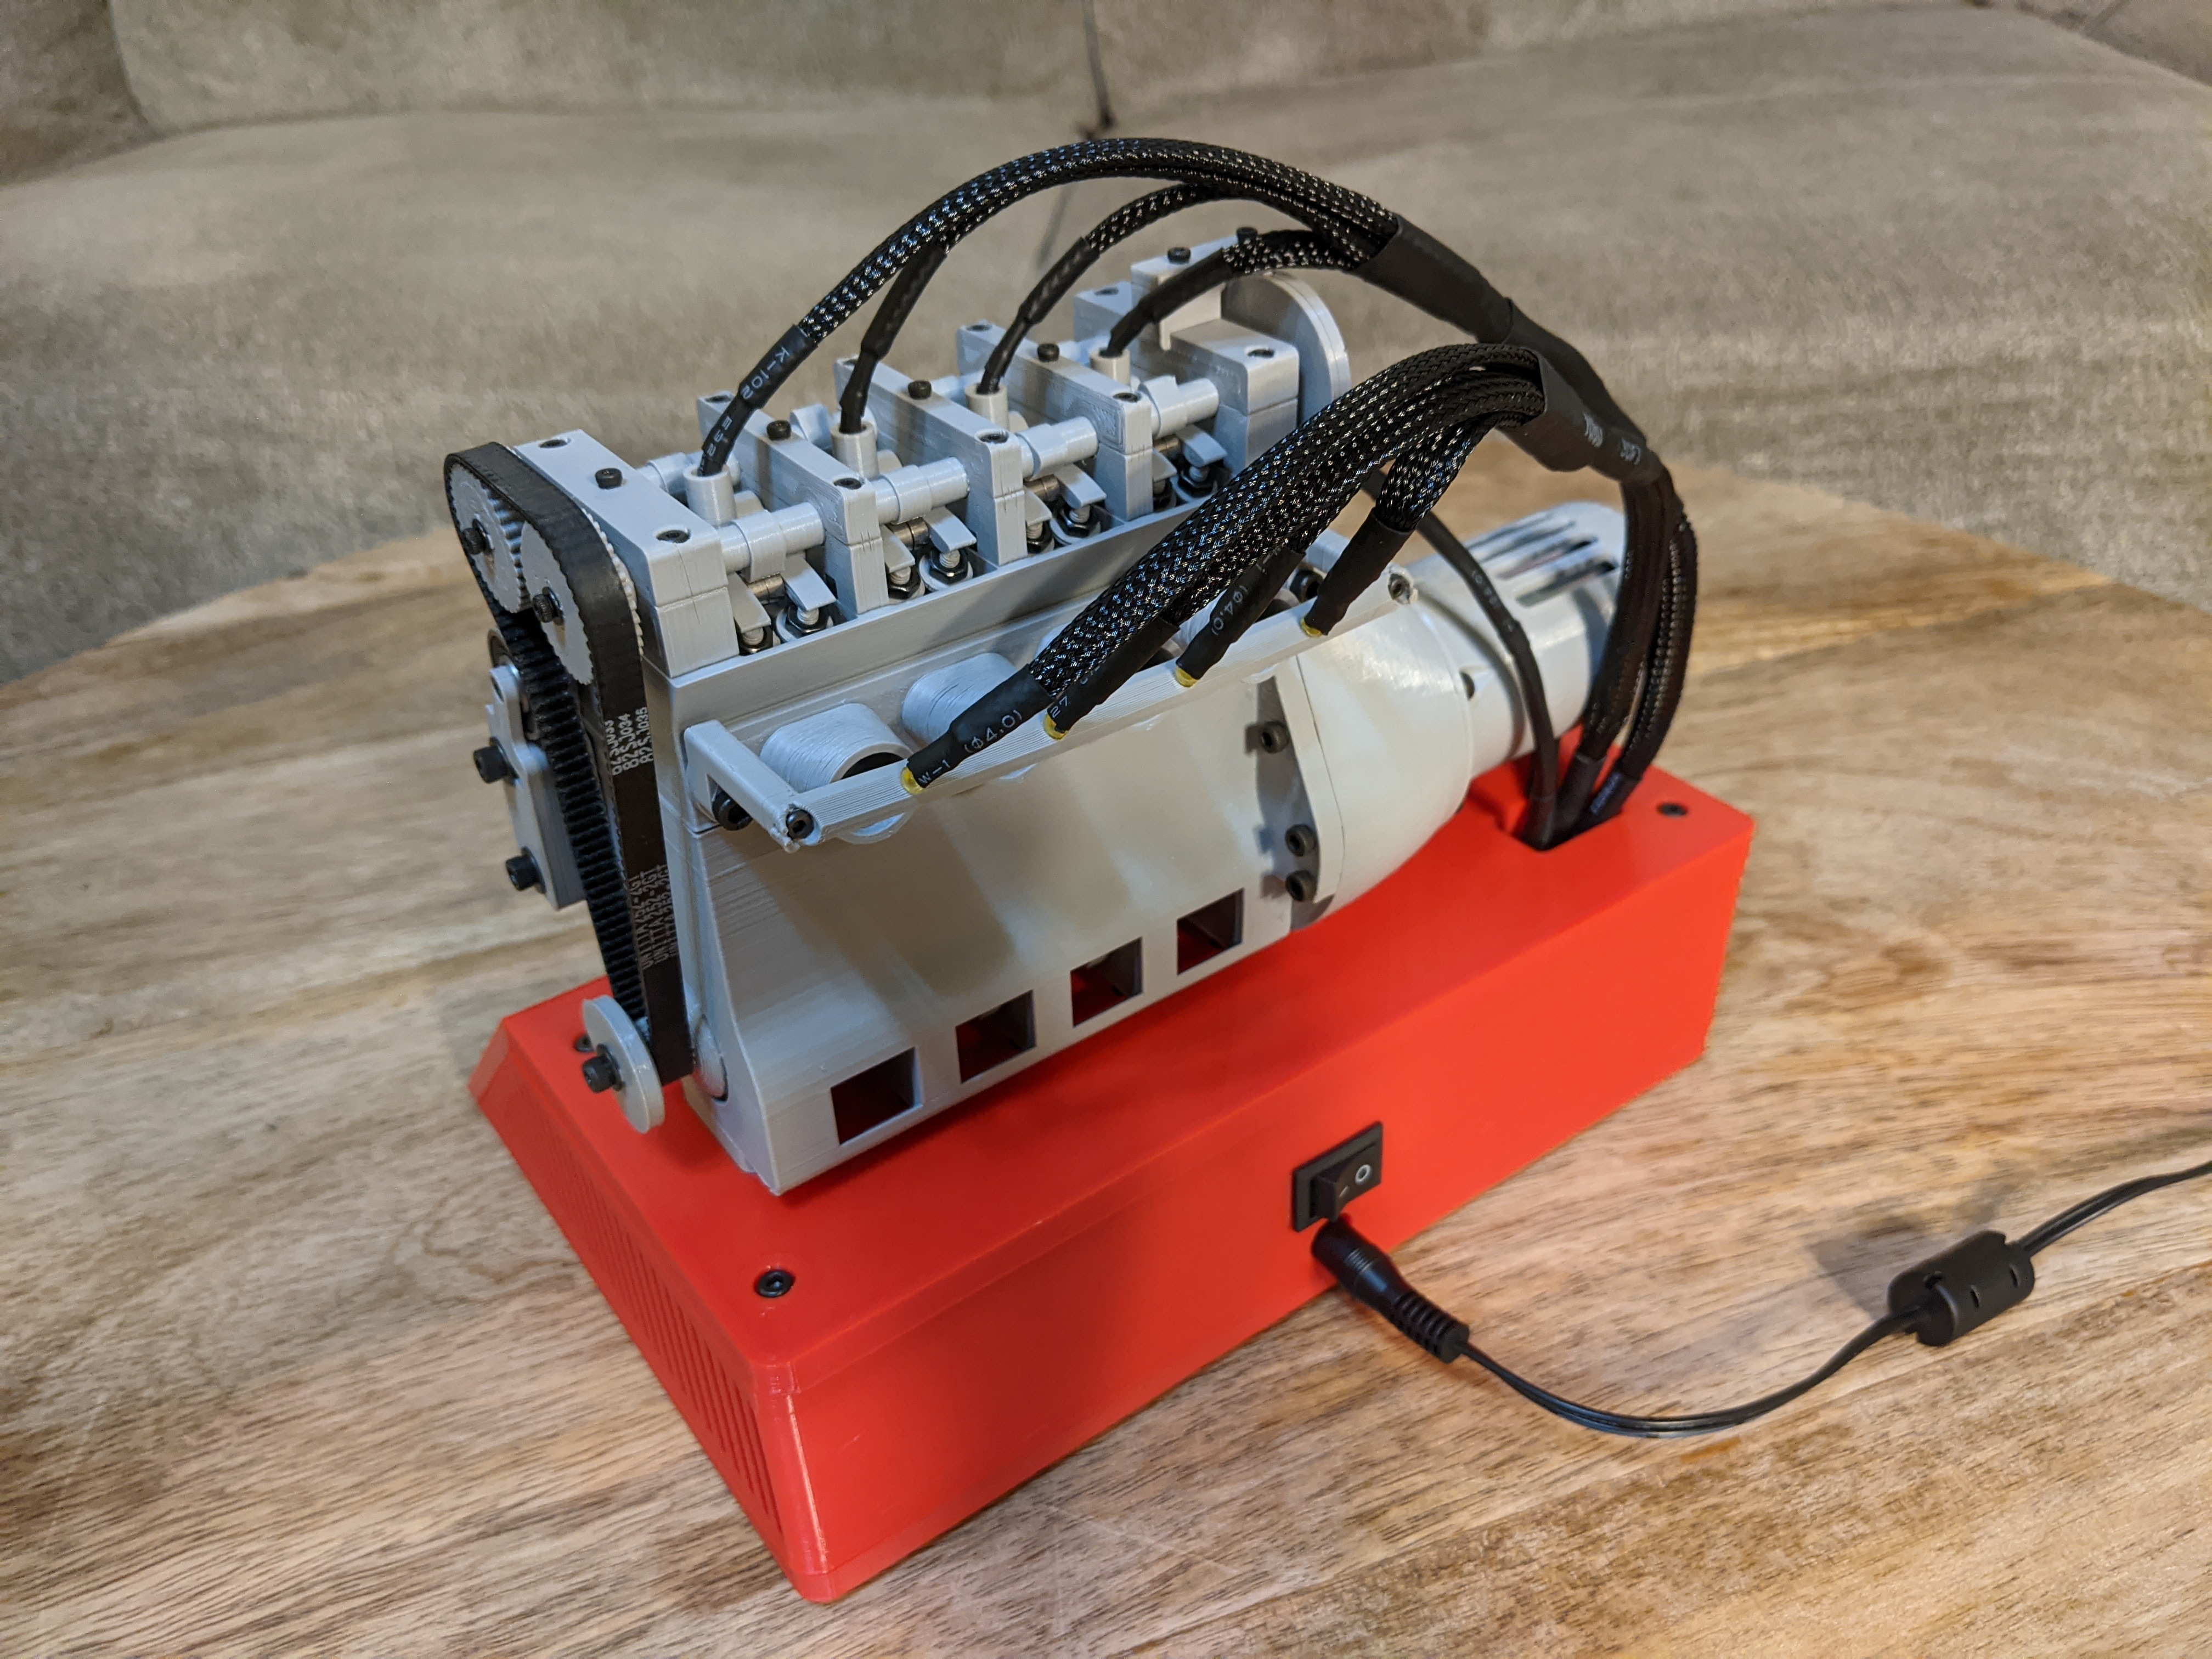
The model is plugged into the wall using a 12V power adapter. Once plugged in, power is switched on or off using the switch on the back. When powered on, the right knob controls the PWM signal to the motor. The model can rotate in a range from 150 to 280 RPM with consistency. When rotation is established, the hall effect sensors on the camshaft and crankshaft detect the rotation and the Arduino Nano fires the spark plug and fuel injector LEDs at the correct time. The right knob controls the ignition advance. When rotating the LCD display shows the RPM and the ignition angle.


Goal
My goal for this project was to create a personal website from scratch without a web design service such as Wix or Squarespace. Having worked with HTML in a limited capacity and having never worked with CSS or JavaScript, I wanted to use this project as an opportunity to learn something new. This project took approximately a month to complete in which time I learned how to properly format web content using HTML and CSS while using JavaScript to animate and automate my webpage.
Execution
Knowing next to nothing about how web content is programmed, I started this project by learning the basics including HTML, CSS, and JavaScript. Once I head a solid grasp on the languages, I created my first website which was a smooth-scrolling, single page website with a carousel and an image gallery. After it was online for a couple of months, I thought it could use a refresh so I created a new website with a more traditional format. For the new website, I focused on proper HTML and CSS structure to easily make the website responsive and easily expandable in the future. I use JavaScript in a similar image gallery and to create in-page tabs to consolidate information.
Final Product
This project was not without its challenges. My lack of experience led to frustration at times. Using online tutorials often allowed me to accomplish tasks without a full understanding of what was happening. I had to take a step back and truly learn what I was coding rather than just making something that worked. This being a side project, my time was limited to after work and weekends but, as I became more comfortable with the languages, the time restraints became less of an issue. The finished second iteration of my website is simpler and more user friendly than the previous version and does a better job at displaying a large amount of information without becoming cluttered. It is also scalable for desktop and mobile devices.
Goal
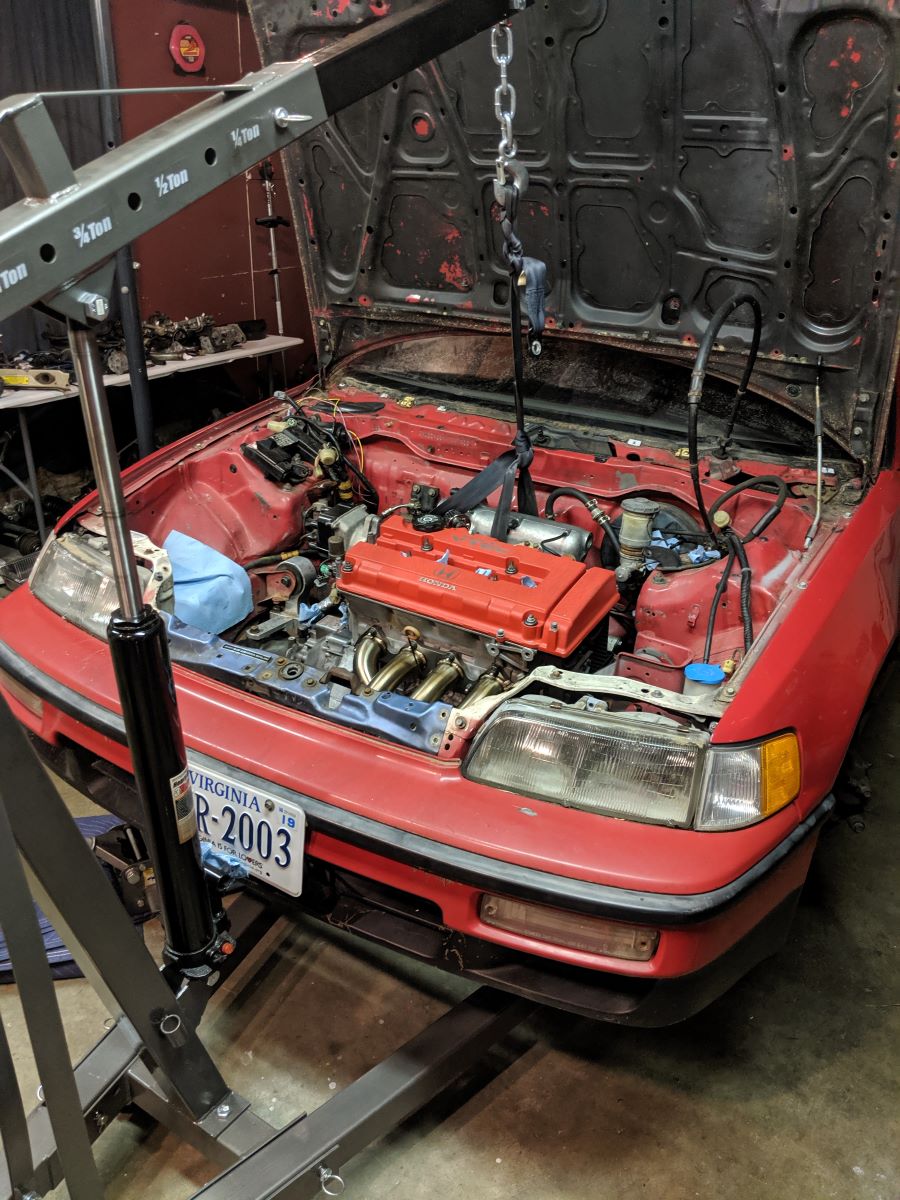
The goal for this project was to replace the heart of my 1991 Honda CRX. I purchased the car as a vehicle to drive to work, as parking tends to be cluttered and nice cars get door-dings quickly. However, I did not want my “beater” to be painfully slow as the CRX is originally. To remedy this, I bought, rebuilt, and installed a new engine—a Honda B16a2 in this case—into the car. This would give the car much more pep, while still remaining relatively reliable and fuel efficient.
Execution
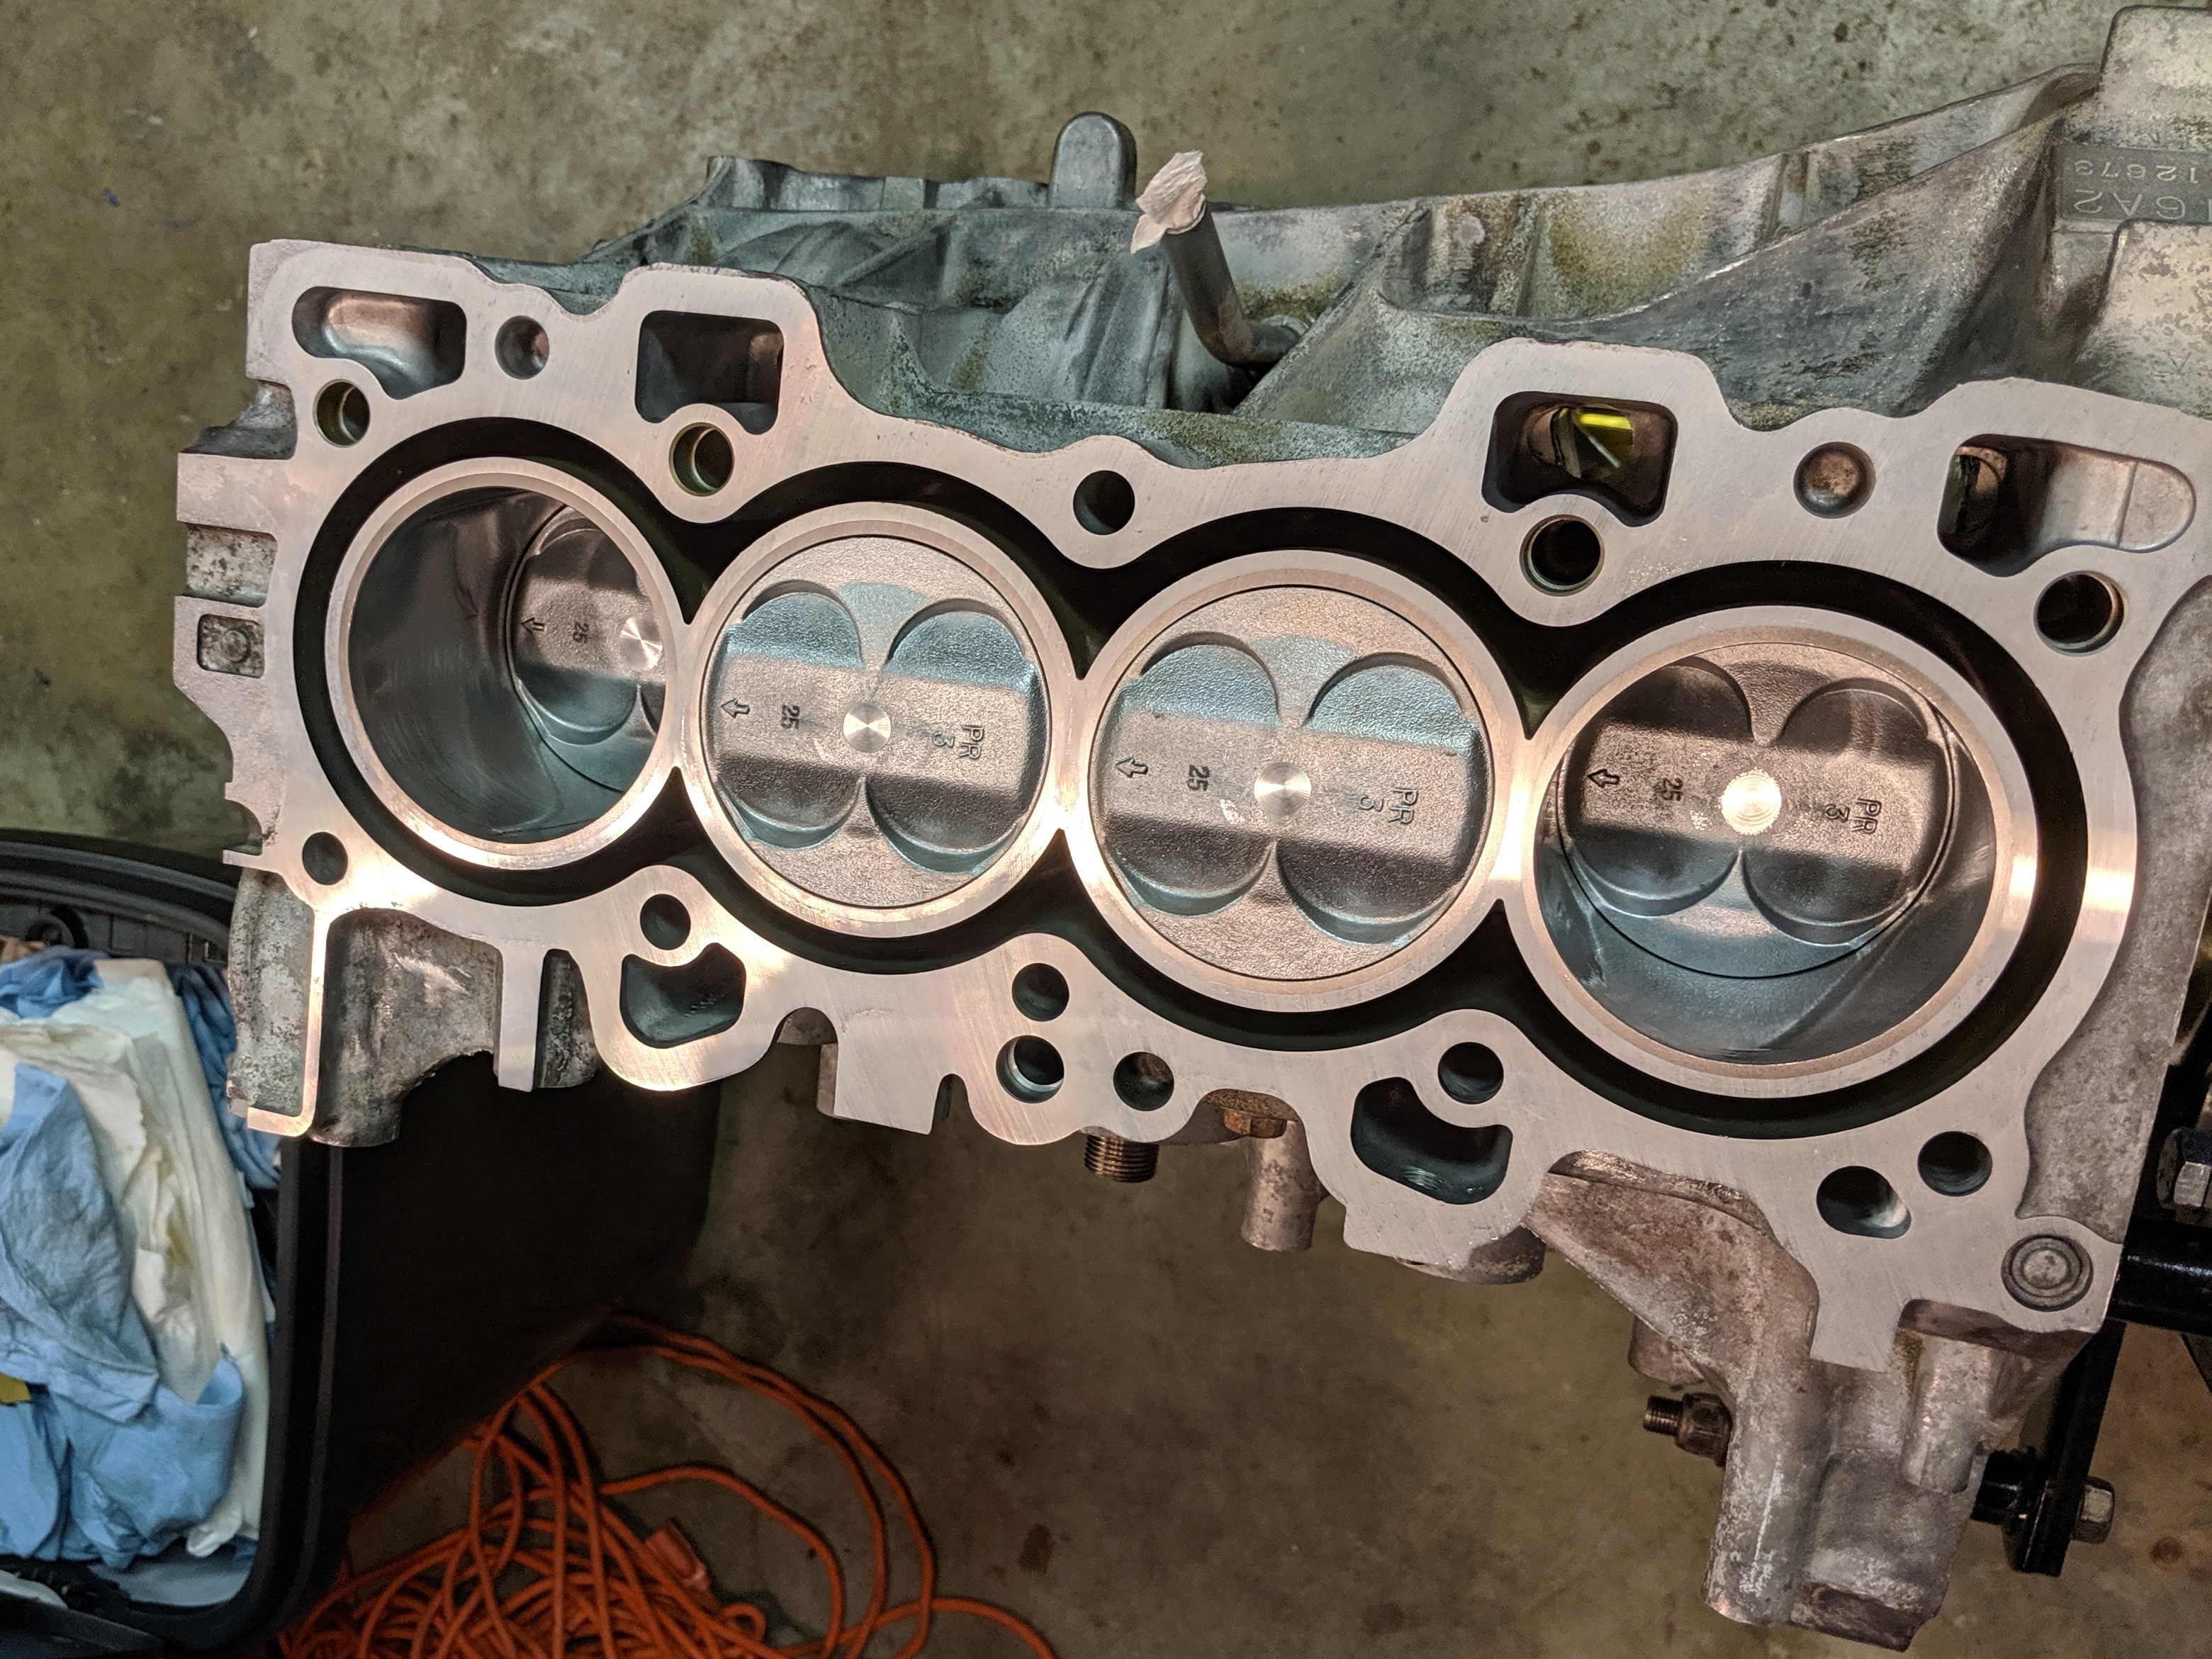
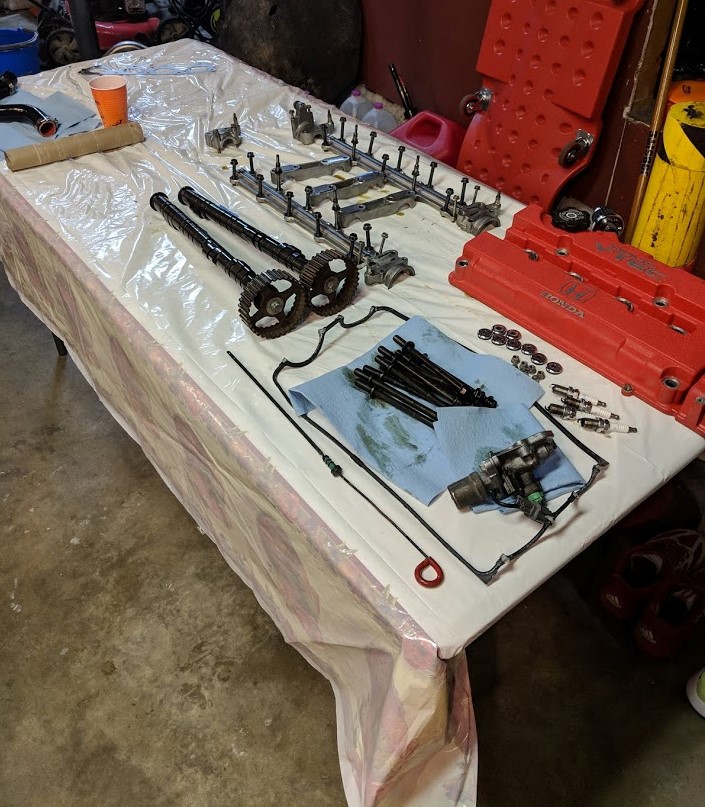
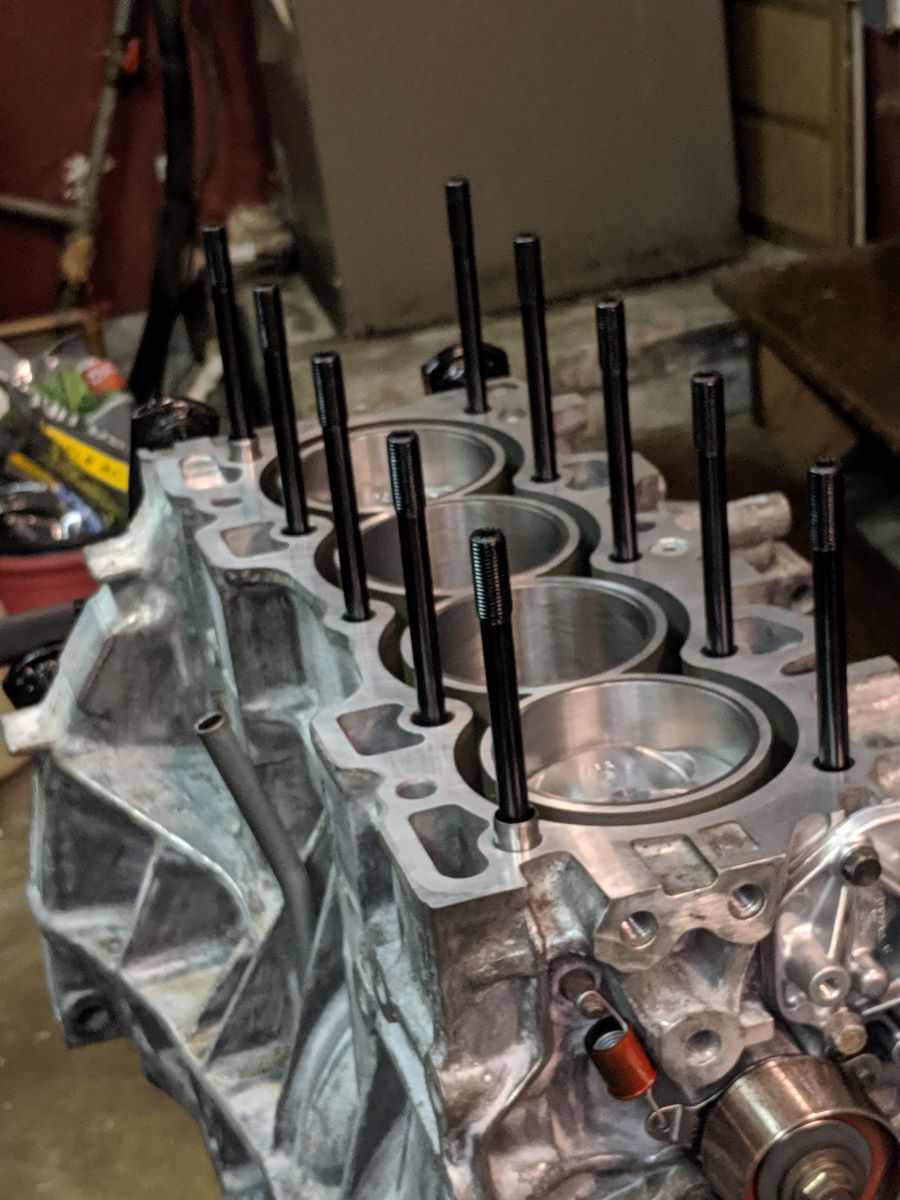
For the engine rotating assembly, all components were either reused or replaced with OEM parts. I measured and blueprinted the entire engine to ensure bearing and cylinder clearances were within specification. For the cylinder head, new upgraded head studs and upgraded OEM cams were installed along with upgraded valve springs and lightweight retainers. The added lift of the new camshaft allows the engine to breathe a little better while the lightweight retainers increase the RPM limits of the engine.
Final Product
The car has been running strong now for several months and has great fuel economy – about 30mpg with (aggressive) city driving with a best of 36 mpg on a tank – while still being quite peppy and fun to drive with its 8500rpm redline and low mass of just over 1000kg. I learned a great amount from the project. Because the hardware is from the 1990s, it strikes a good balance of being modern enough to learn about digital systems while not being as complicated as modern vehicles which require special tools and software to properly diagnose and modify.


